
How to Clean Jewelry With Ultrasonic Cleaner Without Ruining It
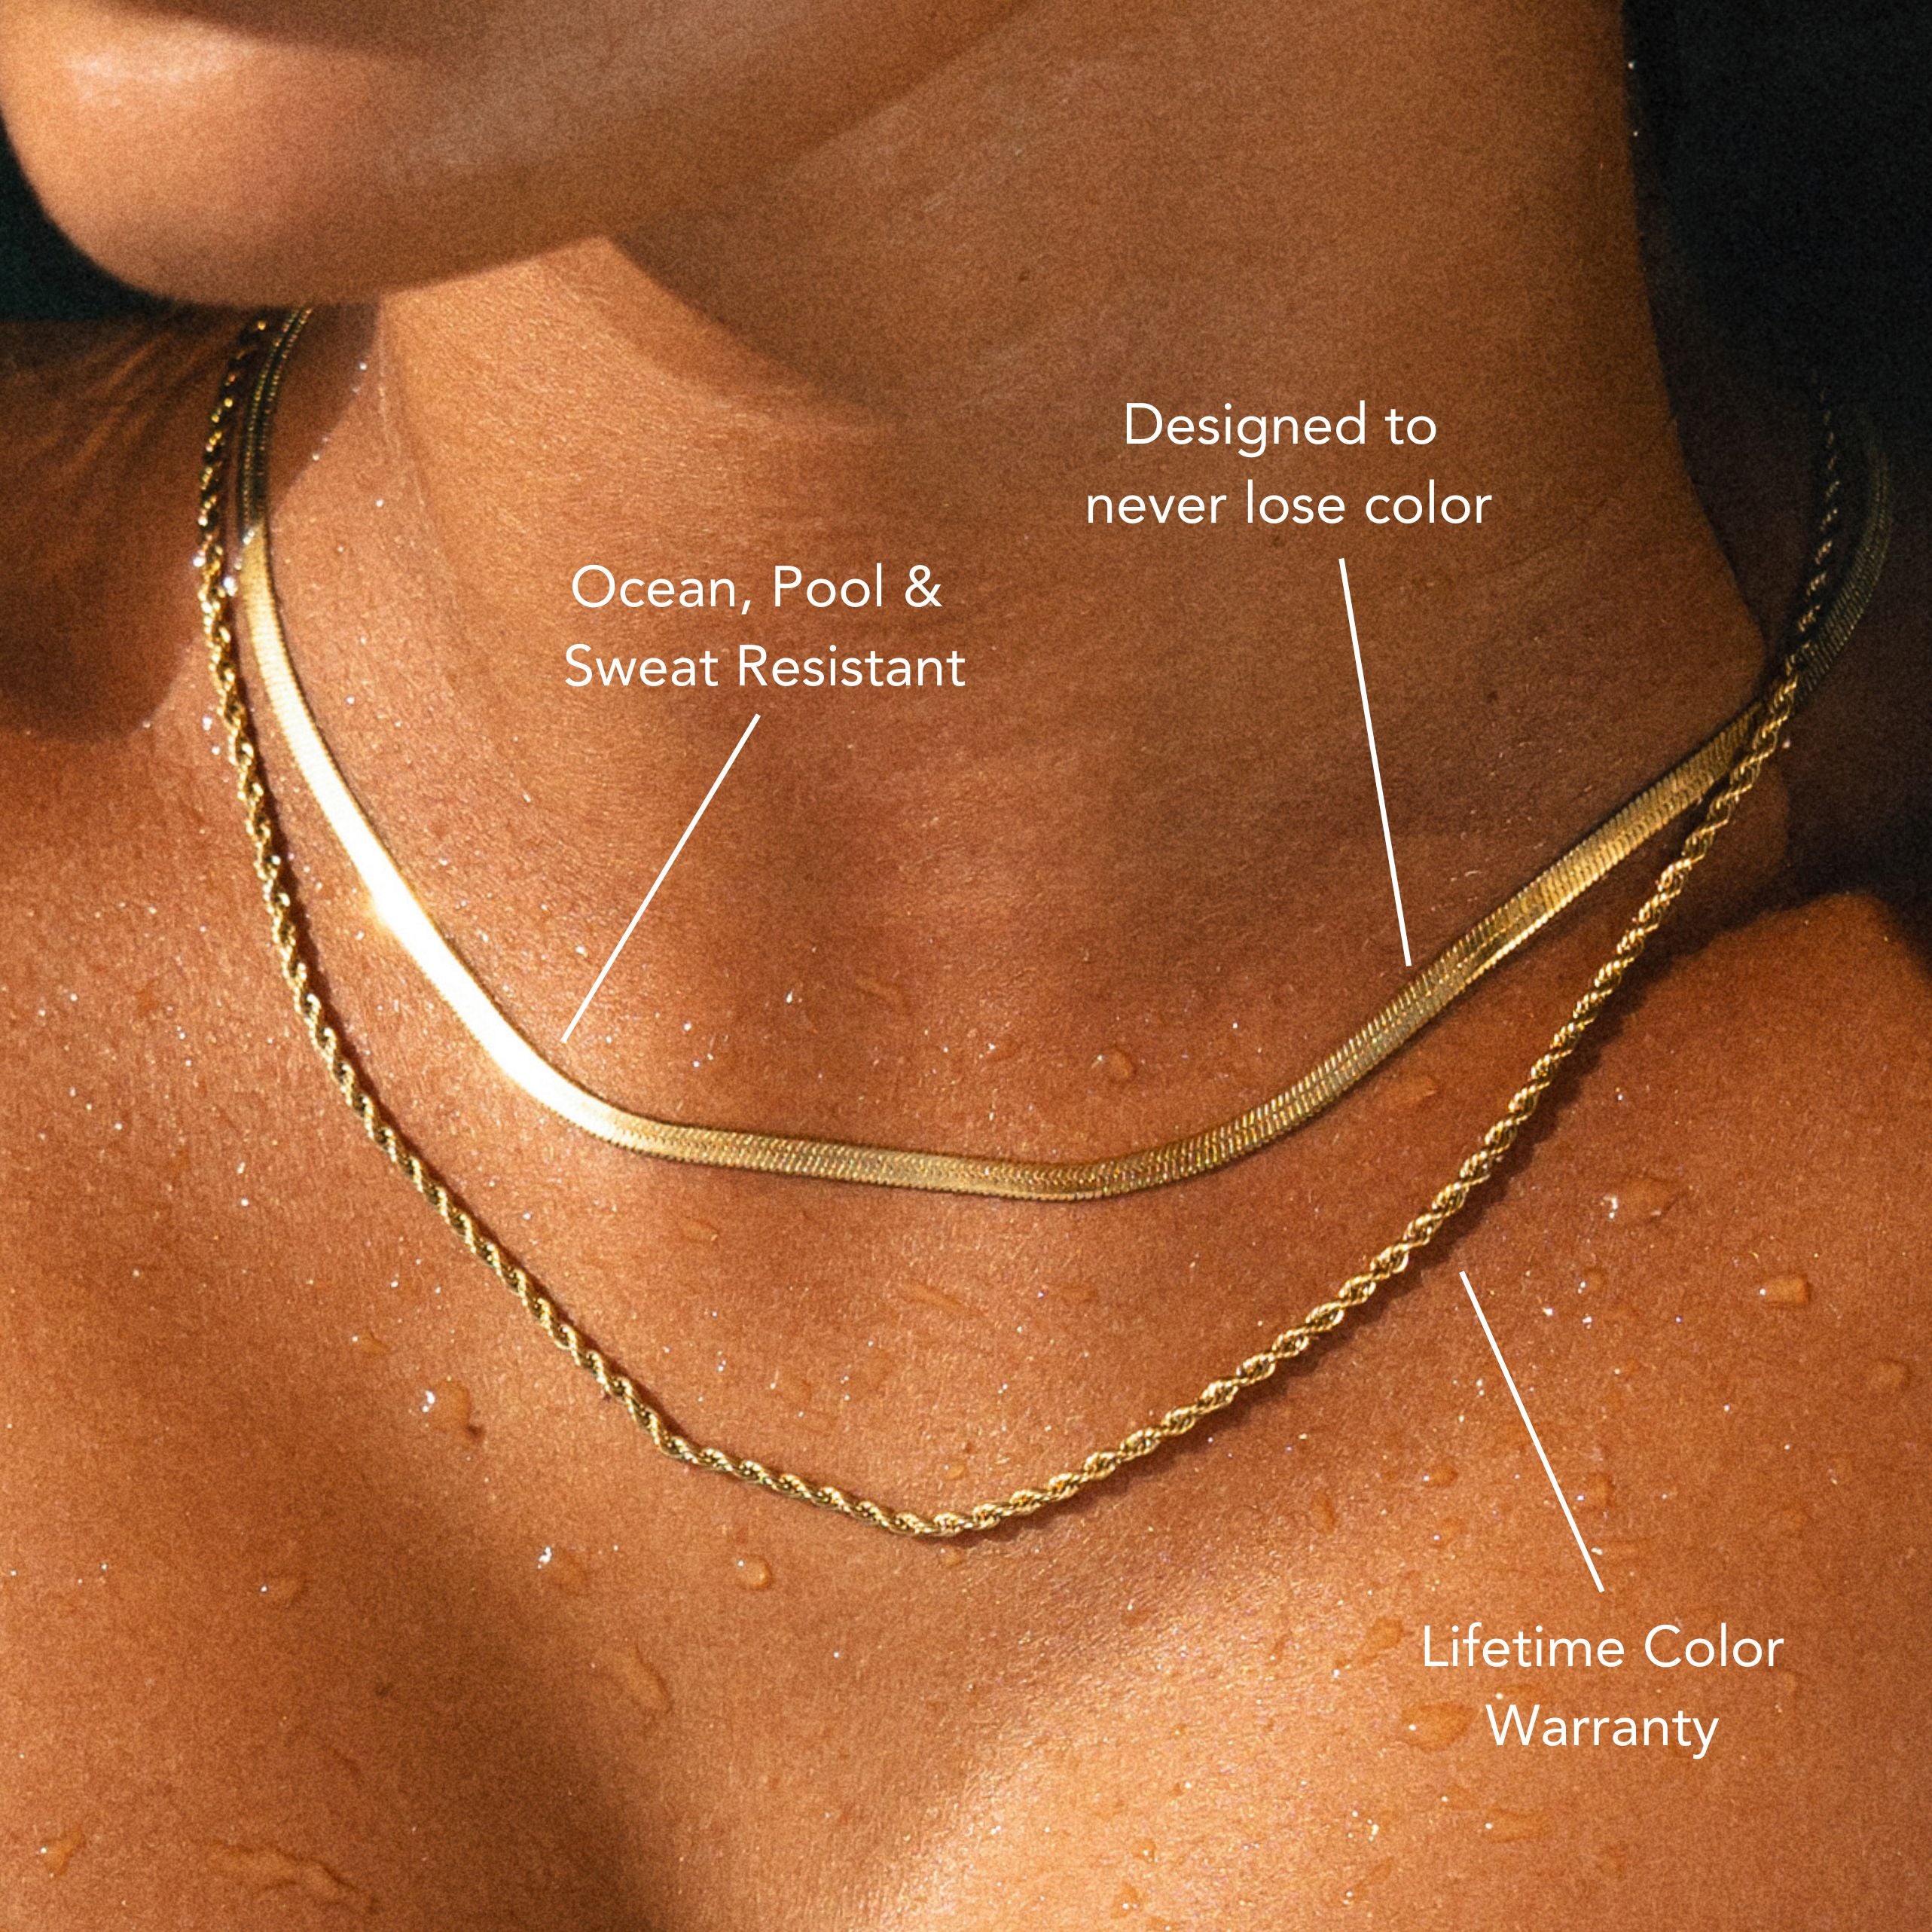
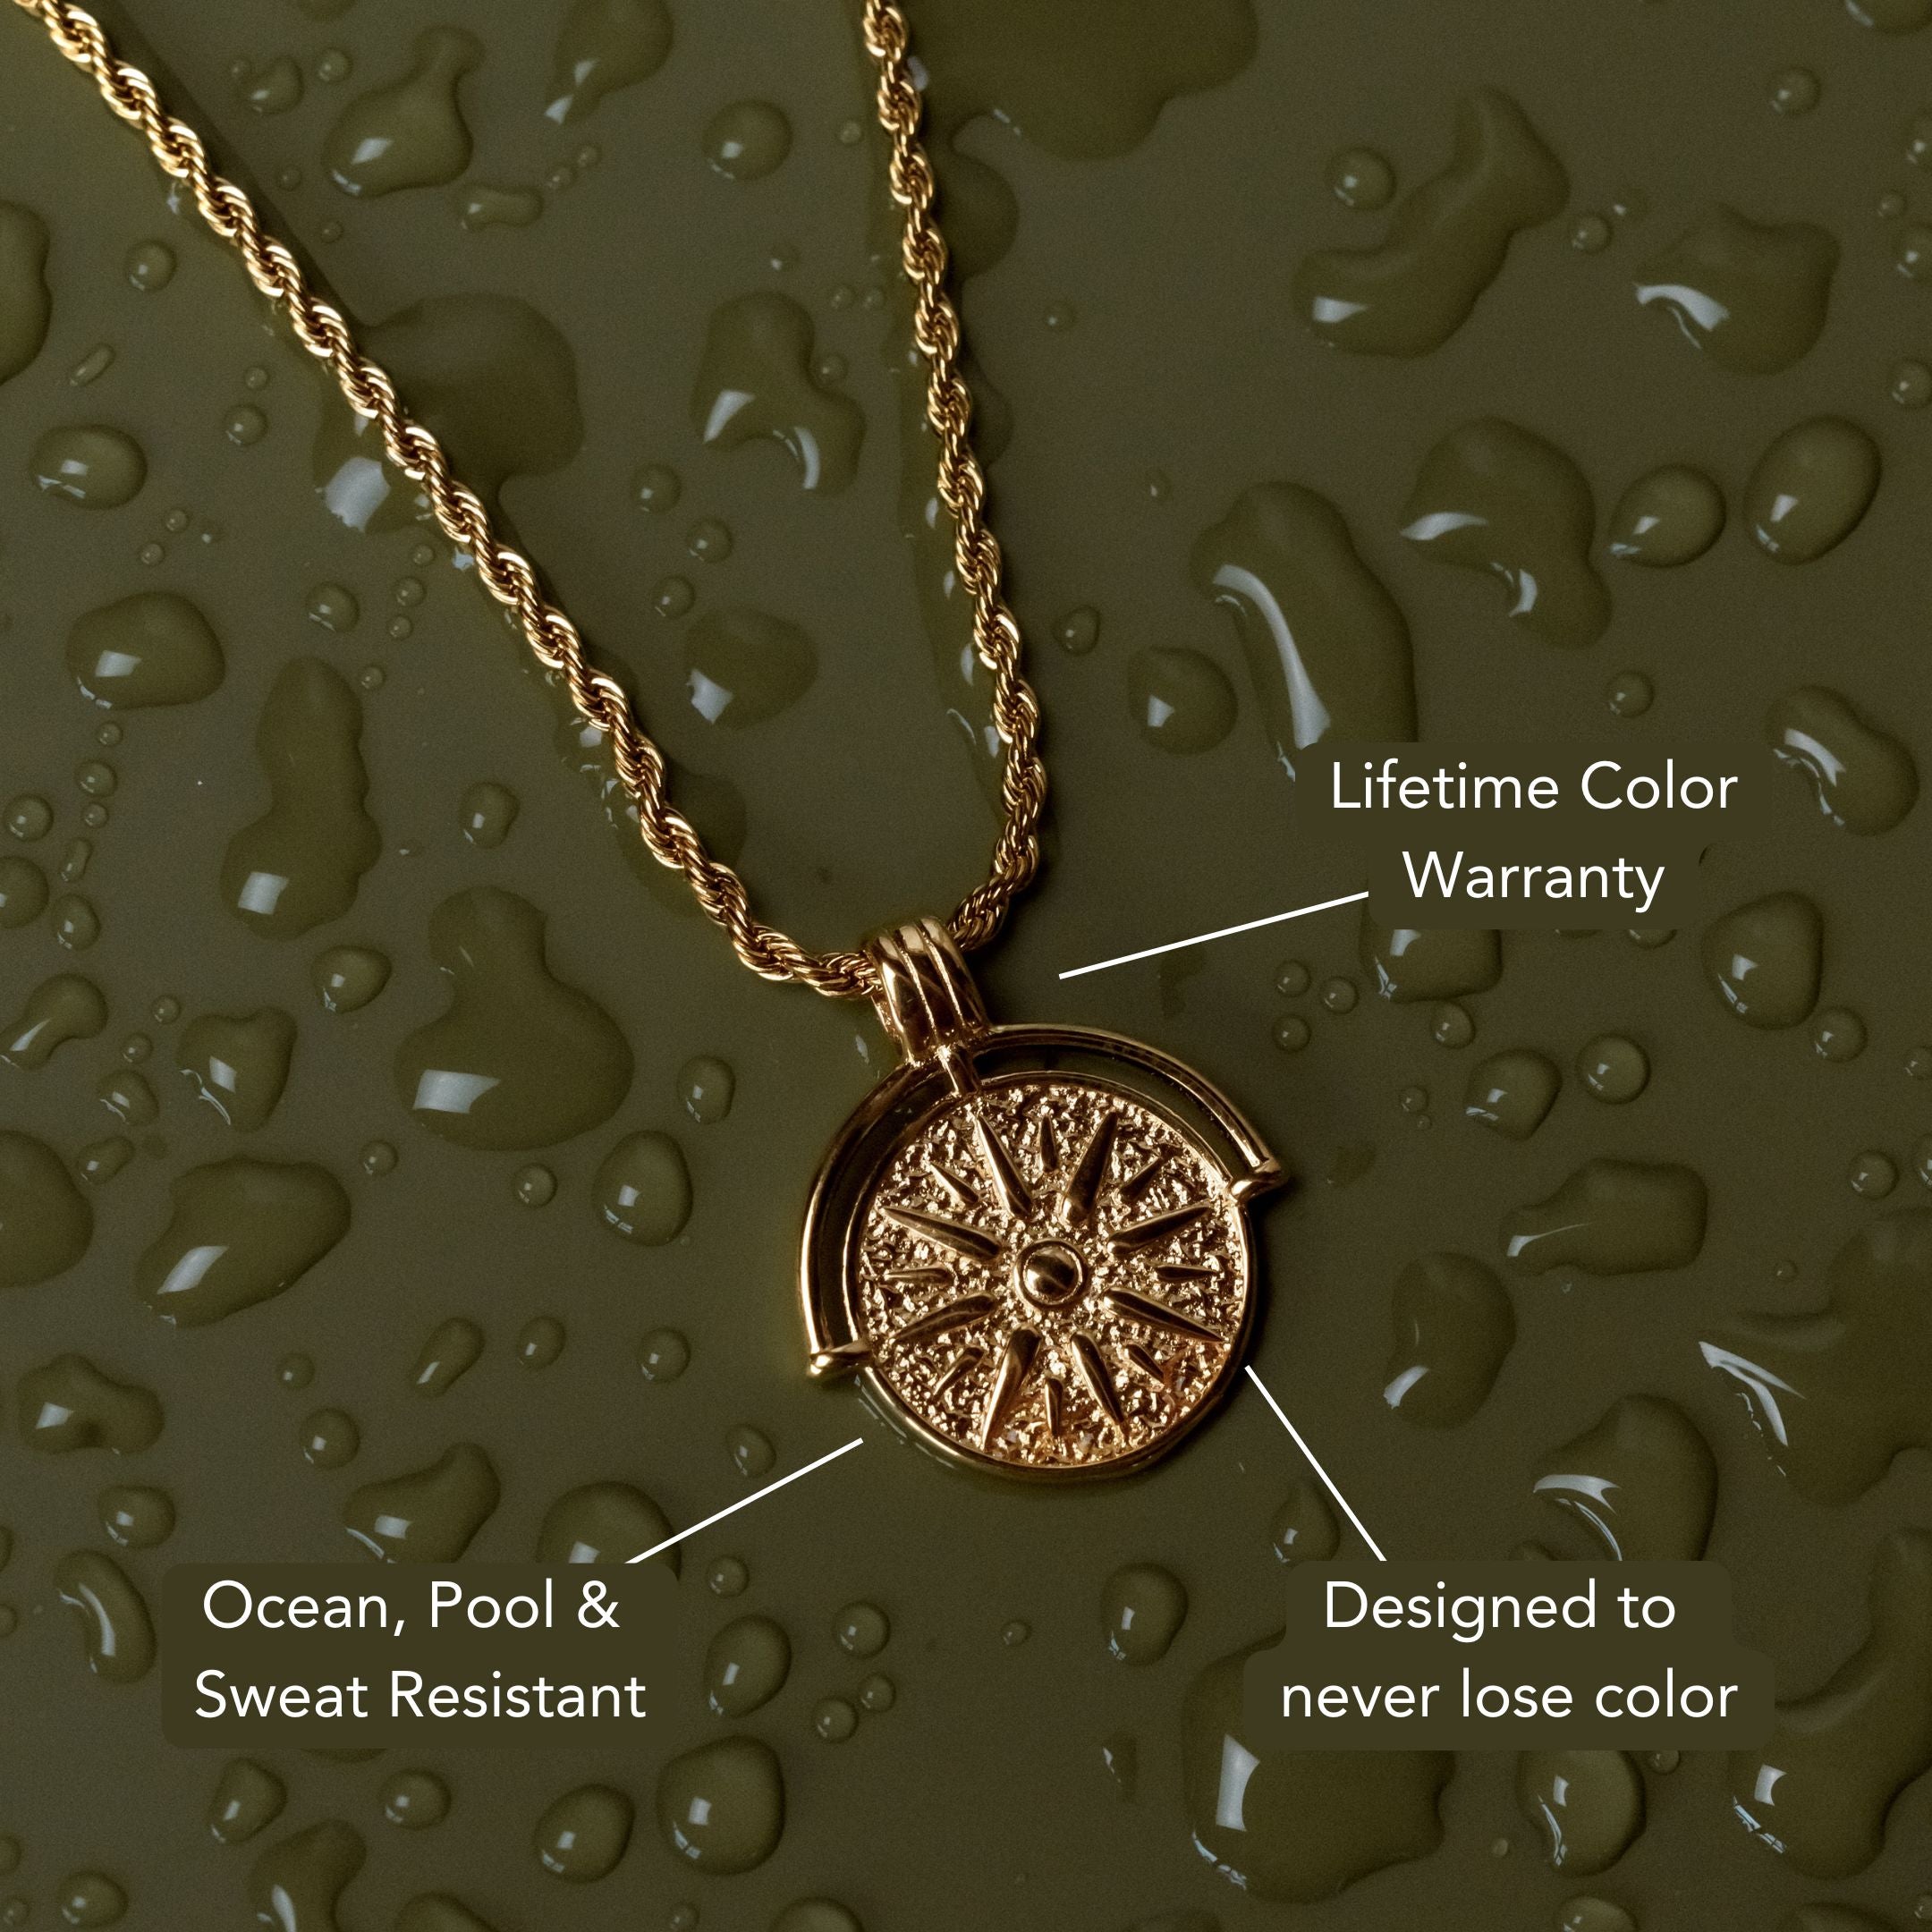
Knowing how to clean jewelry with ultrasonic cleaner can make a big difference in keeping your favorite pieces sparkling and safe. Always start with a 10x inspection to ensure tight prongs, no microfractures, and no filled or treated stones. Safe materials include solid gold, platinum, untreated diamonds, corundum, and spinel. Avoid cleaning pearls, opal, turquoise, emerald, tanzanite, fracture-filled diamonds, or antique solder. Degas the bath, set it to 30–40°C, and use a jewelry-safe neutral detergent. Suspend your pieces in a basket—never let them touch the tank bottom. Run for 2–5 minutes, rinse with deionized water, and air-dry before finishing with light polishing. For durable pieces built to handle everyday wear, explore our Waterproof Jewelry collection for ocean-friendly options.
Understand How Ultrasonic Cleaning Works
Though it seems almost magical, ultrasonic cleaning is a controlled physical process: a transducer converts high-frequency electrical energy (typically 20–80 kHz) into mechanical vibrations that propagate through the cleaning bath, generating cavitation.
You rely on ultrasonic technology to create microscopic vapor bubbles that form and collapse, producing localized shockwaves and microjets. These events shear off particulates, polishing compounds, and biofilms from complex geometries—prongs, filigree, undercuts—without manual abrasion.
You’ll optimize cleaning efficiency by matching frequency, power density, bath chemistry, and temperature. Lower frequencies generate more aggressive cavitation; higher frequencies reach finer crevices with reduced impact.

Use degassing cycles to purge dissolved gases, ensuring stable cavitation. Maintain coupling by fully submerging pieces in a properly formulated solution and avoiding load overcrowding.
Timed cycles and consistent setpoints yield repeatable, metrology-grade results.
Identify Jewelry That Is Safe to Ultrasonically Clean
Before you hit “start,” qualify each piece by substrate, setting integrity, and stone susceptibility.
Prioritize dense metals with robust mountings. Most high-karat gold jewelry and platinum tolerate cavitation well when prongs, bezels, and solder joints are sound.
Inspect under magnification for loose seats, microfractures, or compromised tips; if anything shifts under gentle probe, don’t proceed.
Match gemstone types to ultrasonic tolerance. Diamonds (untreated), corundum (ruby, sapphire), chrysoberyl, and spinel typically handle ultrasonics if free of filling or surface-reaching inclusions.
Verify disclosure: heat-only treatments are generally stable; fracture-filled or coated stones aren’t.
Calibrated channel and pavé settings with secure shared prongs fare well.
Clean, closed-back mountings can trap debris; confirm venting.
Document serials and condition pre-clean to validate post-process integrity.
Recognize Pieces You Should Never Put in the Tank
Even if you’re confident with cavitation, some substrates and assemblies are categorical no-go’s for an ultrasonic tank. You must identify vulnerable materials first: porous organics (pearls, coral, amber, jet, ivory), layered composites (opals, turquoise, lapis with calcite), and any dye- or oil-infused stones.
Avoid delicate gems with cleavage or fracture susceptibility—emerald, tanzanite, kunzite, morganite, topaz, and zircon are high risk. Heat- or diffusion-treated corundum and fracture-filled diamonds can spall or exude fillers under acoustic stress and heat.

Steer clear of micro-pavé and tension mounts where microcracks propagate.
Don’t immerse enamel, niello, patinated silver, or plated finishes; cavitation pits coatings and lifts patina. Hollow or foil-backed pieces trap solution and delaminate foils.
Antique assemblies with lead solder can etch or fracture.
Check for Loose Stones, Damage, and Treatments
While the bath warms and degasses, perform a pre-clean inspection with a 10x loupe and plastic probe. Check prongs, bezels, channels, and adhesive seams for lift, metal fatigue, or porosity. Gently tap each stone; if you hear a click or feel movement, the setting lacks stone integrity and shouldn’t enter the tank.
Note micro-fractures, feathering, abraded girdles, and previous re-tipping.
Identify treatments: look for surface-reaching fissures filled with glass, oil, or resin; diffusion rims on corundum; dyed chalcedony; irradiated or coated diamonds and topaz. Document treatment effects that cavitation can exacerbate—exfoliation of coatings, oil leaching, filler frothing, or color bleed.
Verify hallmarks and solder joints for pits or cracks. Flag tension settings and channel-set baguettes; ultrasonics can propagate existing stress.
Choose the Right Cleaning Solution and Concentration
Because cavitation intensity depends on chemistry, match your solution to the substrate and soil load, then dose precisely.
Select jewelry-safe cleaning agents: neutral pH surfactant blends for gold and platinum; mildly alkaline formulations for body oils; ammoniated, non-oxidizing mixes for diamond-only pieces; enzyme additives for proteinaceous residues.
Avoid acids, bleach, peroxide, and ammonia on silver, pearls, corals, opals, emeralds, or any fracture-filled or coated stones.
Calibrate solution concentration per the manufacturer’s spec—typically 2–10% for concentrates. Under-dosing reduces soil lift; over-dosing suppresses cavitation and risks etching.
Pre-mix in deionized water for consistent conductivity and foam control. Use separate baths for silver-specific tarnish removers to prevent cross-contamination.
Replace baths when they appear cloudy or lose efficacy. Always validate on a sacrificial or low-value test piece before full immersion.
Set Proper Temperature, Power, and Degassing
Set bath temperature, ultrasonic power, and degassing sequence to optimize cavitation without risking substrate damage.
Calibrate temperature settings to match the chemistry: 30–40°C for most detergents, cooler for delicate stones, warmer only if the solution spec permits. Overheating softens adhesives and accelerates corrosion.
Execute a degas cycle before inserting jewelry: run the unit 5–10 minutes at nominal power to purge dissolved gases that dampen cavitation intensity.
Dial in power adjustments conservatively. Start at 30–50% amplitude, verify soil release, then increment in small steps. Excess watt density causes micro-pitting on softer metals and can undercut prong tips.

Use shorter duty cycles for heat-sensitive assemblies. Monitor bath with a foil test or cavitation meter to confirm uniform energy distribution and repeatable cleaning performance.
Use Baskets, Racks, and Positioning for Safety
Although cavitation does the cleaning, fixtures control the risk: place jewelry in a stainless mesh basket or purpose-built rack to suspend pieces off the tank floor and out of the high-intensity boundary layer.
Contact with the transducer plate can cause pitting, stone loosening, or resonance damage. Select basket types with fine mesh and rigid frames to prevent parts from migrating and to minimize acoustic shadowing.
Use silicone bumpers or hooks to isolate delicate settings. For rack positioning, orient pieces so faces are perpendicular to wave propagation, avoiding nesting that traps air. Stagger mass and separate dissimilar metals to prevent abrasion.
Don’t overload; maintain fluid circulation around each item. Keep chains stretched and clipped to avoid knotting and micro-wear at contact points.
Time the Cleaning Cycle and Rinse Correctly
Dial in dwell time to the alloy, soil load, and chemistry: most jewelry cleans in 2–5 minutes at full cavitation, while fragile settings, opals, pearls, and heat‑sensitive adhesives require shorter pulses (15–60 seconds) with inspection between bursts.
Use timing techniques: set a baseline cycle, then validate with loupe checks between iterations. Don’t exceed manufacturer’s duty cycle; heat buildup reduces cavitation efficiency and risks adhesive creep.
When the bath stops, shift immediately to rinse. Use deionized water at similar temperature to the tank to prevent thermal shock and spotting.
Employ two‑stage rinsing methods: a flowing pre‑rinse to displace detergent, then a static DI bath with gentle agitation to purge trapped solution from galleries and under bezels.
Finish with a quick alcohol displacement rinse to minimize water residues.
Dry, Inspect, and Finish With Polishing
Compressed air or a lint‑free microfiber prevents redeposition—blow water from galleries, undercut pavé, and hinge joints at 20–30 psi, keeping the nozzle 6–8 inches away to avoid lifting stones.
Use controlled drying methods: tip settings downward so moisture exits, wick under bezels with pointed swabs, and warm gently (no hotter than body temp) to evaporate residuals.
Inspect under 10x–20x magnification. Check prong tension, seat contact, and any micro‑movement in channels; confirm no cavitation etching or loosened epoxy in composite pieces.
Trace edges with a probe to detect snag points.
Finish with disciplined polishing techniques. Mask stones. Pre‑polish metals with grey or green compound, then refine with rouge or alumina on stitched muslin.
Use light pressure, cool cycles, and cross‑grain strokes. Ultrasonically degrease, rinse, and final buff.
Safer Alternatives When Ultrasonic Isn’t Appropriate
When cavitation risks outpace benefits—think porous organics, treated gems, foil‑backed stones, or hairline‑fractured settings—you pivot to non‑ultrasonic protocols that control chemistry, temperature, and mechanical force.
Use alternative cleaning methods that minimize shock loading: a lukewarm bath with neutral‑pH surfactant, soft sable brush agitation, and distilled‑water rinse.
Select safe cleaning materials only—no ammonia, no acids, no peroxide, no steam on composites.
For opal, turquoise, pearl, and amber, deploy microfiber swabs and damp wipe‑downs; for heat‑sensitive treatments, keep solution under 30°C.

For silver with delicate settings, apply thiourea‑based dip via cotton applicator, then neutralize and dry under gentle airflow.
For grime in tight geometry, use wooden toothpicks and rubber dust blowers.
Always test inconspicuous zones, document reactions, and escalate conservatively.
Frequently Asked Questions
How Often Should I Service or Replace My Ultrasonic Cleaner?
Service your unit annually for ultrasonic cleaner maintenance; replace transducers or heaters every 3–5 years, depending on duty cycle. Monitor service frequency via cavitation test, temperature accuracy, and leak checks. Replace immediately if power output degrades or tank pitting appears.
Can Ultrasonic Cleaning Affect Jewelry Appraisals or Warranties?
Yes. You can trigger jewelry appraisal impact and warranty implications. Ultrasonic cavitation may alter settings, micro-fractures, or treatments, voiding manufacturer coverage and skewing valuation. Verify gemstone enhancements, consult brand service bulletins, obtain pre-cleaning documentation, and follow OEM-approved cleaning protocols.
Is Ultrasonic Cleaning Safe Around Hearing Aids or Pacemakers Nearby?
Yes, but maintain Ultrasonic safety protocols. Keep devices 12–24 inches away, remove hearing aids, and avoid proximity to pacemakers. Electromagnetic emissions are minimal, yet acoustic coupling and vibration can interfere. Follow Hearing aid precautions, manufacturer IFUs, and clinical contraindications.
How Do I Reduce Noise and Vibrations From the Cleaner at Home?
Place the unit on a dense rubber isolation pad for vibration dampening, decouple it from hard surfaces, and enclose it in a ventilated MDF box with acoustic foam. Use mass-loaded vinyl and sorbothane feet—proven soundproofing techniques.
What Insurance Considerations Apply if Jewelry Is Damaged During Cleaning?
You should review homeowners, renters, or scheduled personal property policies for accidental damage coverage. Confirm liability coverage with professional cleaners. Document appraisal, before/after photos, and invoices. Initiate the claims process promptly, comply with subrogation, and observe exclusions for inherent vice or wear.
Conclusion
You’ve now got the protocol to clean jewelry ultrasonically without collateral damage. Vet substrates and treatments, inspect for play in settings, and deploy the correct surfactant at proper dilution. Stage pieces in baskets off the tank floor, avoid resonance hotspots, and cap dwell time. Rinse with deionized water, dry with lint-free media, then finish with a non-abrasive polish. When contraindicated—porous gems, fractures, or unstable mounts—default to manual methods or professional bench work to preserve integrity and value.


Leave a comment
This site is protected by hCaptcha and the hCaptcha Privacy Policy and Terms of Service apply.