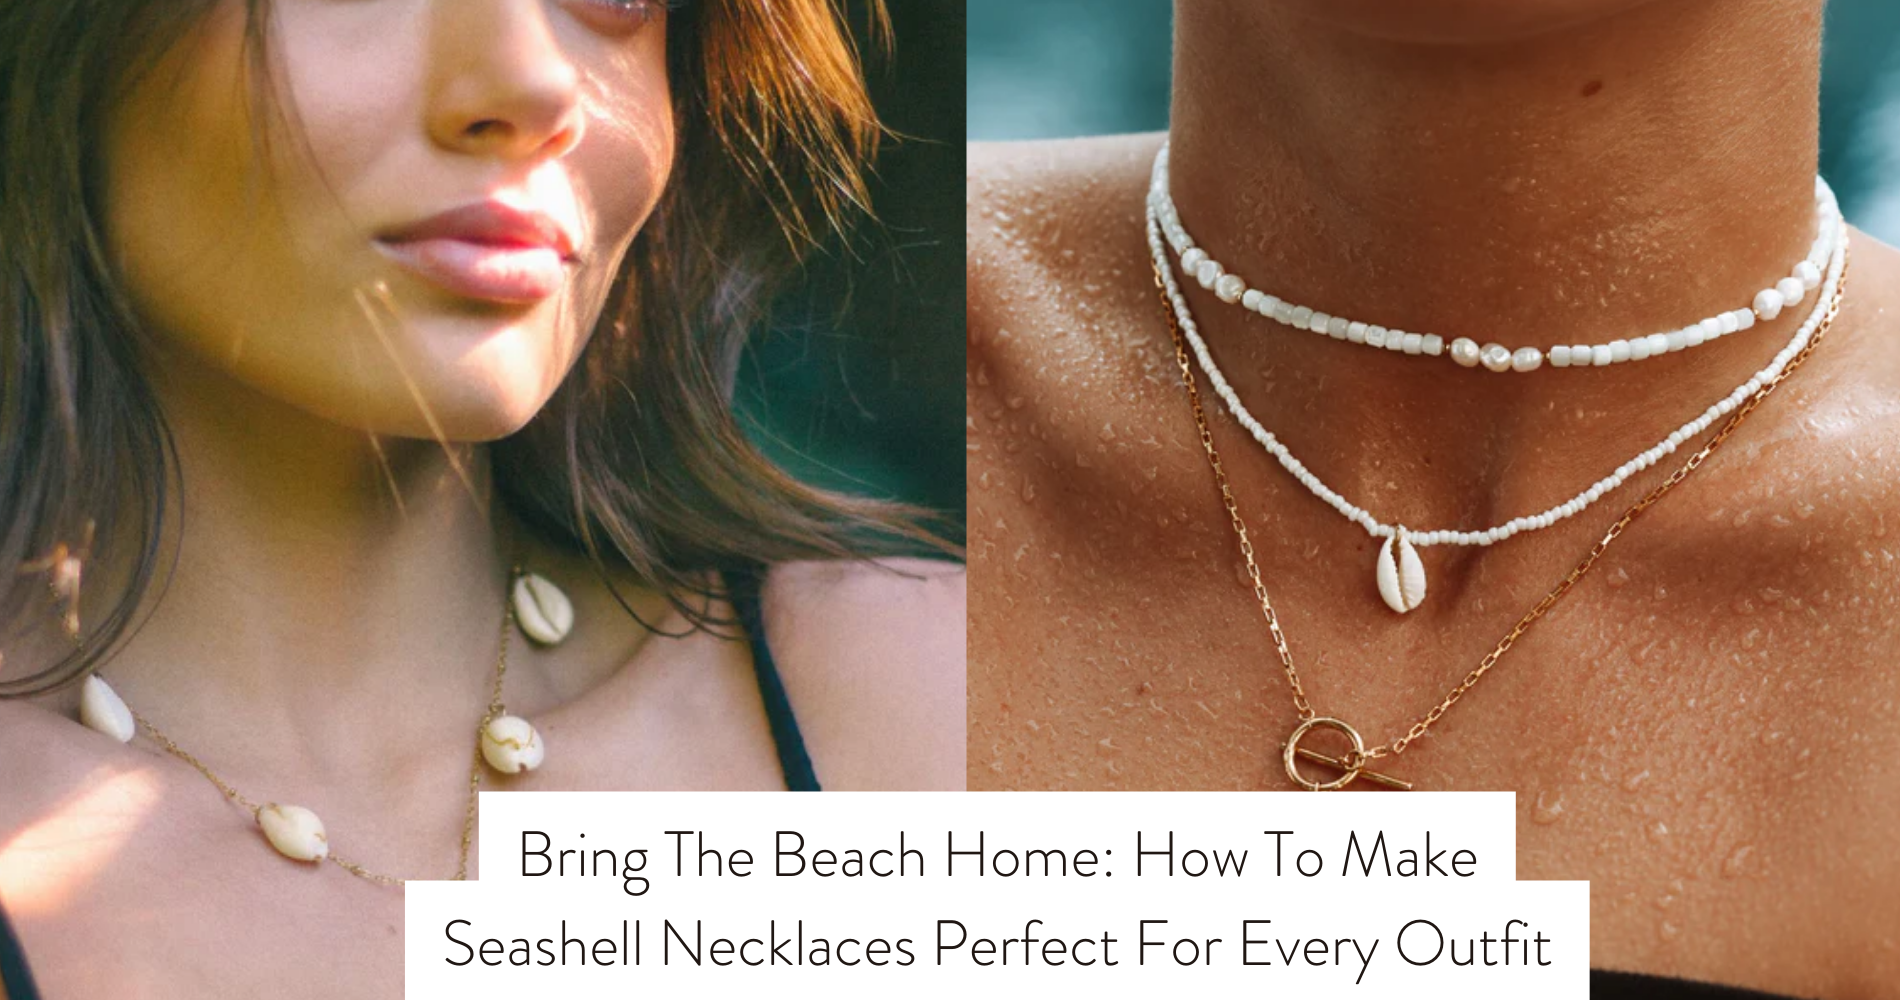
Bring The Beach Home: How To Make Seashell Necklaces Perfect For Every Outfit
Searching to infuse your outfits with a touch of beachy charm? Your solution is here! This article guides you through crafting seashell necklaces, ideal for various occasions, adding a personal touch to your collection of beach necklaces.
Discover the art of selecting the perfect seashells, their preparation and cleaning, and the creation of a captivating necklace layout. With straightforward steps, you can effortlessly bring the beach into your accessory repertoire, resulting in a unique piece that harmonizes with any outfit.
Ready to embark on this creative journey? Let's get started!
Choosing the Perfect Seashells
You should choose seashells that match your personal style and complement your outfits. Seashell necklaces come in different types and styles, making it important to select the right seashells for specific outfits.
When choosing seashells for your necklace, consider the color and shape of the seashells. If you prefer a more natural look, opt for seashells in their original color and shape. For a more vibrant and playful look, you can choose seashells that have been painted or embellished.
Additionally, consider the size of the seashells. If you want a statement piece, select larger seashells that will catch attention. However, if you prefer a more delicate and subtle look, choose smaller seashells.
Take into account the ensemble you intend to pair with the necklace, especially when contemplating a beach shell necklace. For vibrant and colorful outfits, opt for seashells that harmonize with the colors of your clothes. Conversely, for a more understated and neutral outfit, consider choosing seashells that introduce a captivating pop of color or texture to elevate your look.

Preparing and Cleaning the Seashells
To prepare and clean the seashells, start by soaking them in a mixture of warm water and mild dish soap. This step is crucial to remove any dirt, sand, or debris that may be stuck on the shells. Let them soak for about 15-20 minutes to loosen any stubborn dirt particles.
After soaking, use a soft-bristle brush or toothbrush to gently scrub each seashell, paying attention to any crevices or hard-to-reach areas.
Once you have scrubbed the seashells, rinse them thoroughly with clean water to remove any soap residue. It's important to rinse them well to ensure that no soap is left behind. After rinsing, pat them dry with a clean towel and let them air dry completely before using them for your seashell jewelry.
Cleaning the seashells prepares them for various DIY seashell crafts, including seashell necklaces. Seashell jewelry trends have been increasingly popular, and by cleaning the shells properly, you can create stunning and unique pieces that will complement any outfit.
Designing the Necklace Layout
Now that your seashells are clean and ready to be transformed into beautiful jewelry, it's time to plan out the layout for your seashell necklace. Designing the layout allows you to create unique patterns that reflect your personal style and taste. Start by laying out the seashells on a flat surface and experimenting with different arrangements until you find one that you love.
To add a touch of elegance and variety to your necklace, consider incorporating beads and charms. Beads can be interspersed between the seashells to add color and texture. Choose beads that complement the colors of your seashells or opt for contrasting shades for a bold statement. Charms, on the other hand, can be attached to the necklace chain or incorporated into the layout itself. They can represent special memories or symbols that hold personal meaning to you.
When arranging the seashells, take into consideration their sizes, shapes, and colors. You can create a balanced design by alternating larger and smaller shells or arrange them in a gradual size progression. Play around with different color combinations to achieve a visually appealing layout.
Attaching the Seashells to the Necklace
To securely attach the seashells to your necklace, start by threading a thin, durable string or wire through the holes in each shell. This step is crucial to ensure that your seashells stay in place and don't fall off while wearing the necklace.
When choosing the string or wire, consider the overall aesthetic of your necklace and the seashell necklace trends. For a more natural look, opt for a clear fishing line or a hemp cord. If you want a more elegant and refined touch, a sterling silver or gold wire would be a great choice. Alternatively, you can also use leather or suede cord for a boho-inspired necklace.

Whichever material you choose, make sure it's strong enough to hold the weight of the seashells and won't easily break or fray. After threading the string or wire through each seashell, tie a secure knot to keep them in place. You can also add a dab of jewelry glue to reinforce the knot and provide extra security.
Once all the seashells are attached, your necklace is ready to be worn and admired.
Adding Finishing Touches and Adjustments
Once you have securely attached the seashells to your necklace, it's time to add the finishing touches and make any necessary adjustments. First, you may want to consider adjusting the length of your necklace. This can easily be done by adding or removing chain links or adjusting the knot if you're using a cord. Simply measure the necklace around your neck and determine the desired length. Once you have made the necessary adjustments, you can secure the clasp.
To secure the clasp, make sure both ends of the necklace are aligned. If you're using a lobster clasp, insert the jump ring into the small hole on the opposite end of the clasp and close it tightly. For a toggle clasp, insert the bar through the loop and ensure it's securely in place. If you prefer a magnetic clasp, align both ends and let the magnets snap together.
After securing the clasp, take a moment to inspect your necklace for any loose or uneven shells. If necessary, gently adjust them to create a balanced and aesthetically pleasing design. Once you're satisfied with the final look, your seashell necklace is ready to be worn with confidence and style.
Frequently Asked Questions
Where Can I Find Seashells to Make the Necklaces?
You can find seashells in abundance for making necklaces at local craft stores or online retailers. If you're looking for alternatives, consider using natural materials like stones, beads, or even dried flowers for unique necklaces.
What Type of String or Cord Is Best for Making Seashell Necklaces?
For making seashell necklaces, you'll want to use different types of string or cord. Consider nylon or leather for a durable and stylish option. When choosing seashells, pick ones with natural holes for easy threading.
Can I Use Seashells That I Found on a Previous Beach Vacation?
Yes, you can definitely use seashells that you found on a previous beach vacation to make seashell necklaces. It's a great way to reuse seashells and create unique jewelry as a souvenir.
How Long Does It Take to Make a Seashell Necklace?
To make a seashell necklace faster, here are some tips: gather all your materials beforehand, choose shells that already have holes, and enlist the help of kids for a fun and fast crafting session.
Can I Add Other Materials, Such as Beads or Charms, to the Seashell Necklace Design?
Yes, you can add other materials like beads or charms to your seashell necklace. This opens up creative possibilities and adds a personal touch. Here are some tips on how to effectively incorporate them into your design.
Conclusion
Now that you know how to make seashell necklaces, you can bring the beach vibes to every outfit.
With the right choice of seashells, proper cleaning and preparation, and a creative necklace layout, you can create stunning accessories.
By attaching the seashells securely and adding finishing touches, your necklace will be ready to wear.
Get ready to turn heads with your unique and stylish seashell necklaces that perfectly complement any outfit.





Leave a comment
This site is protected by hCaptcha and the hCaptcha Privacy Policy and Terms of Service apply.