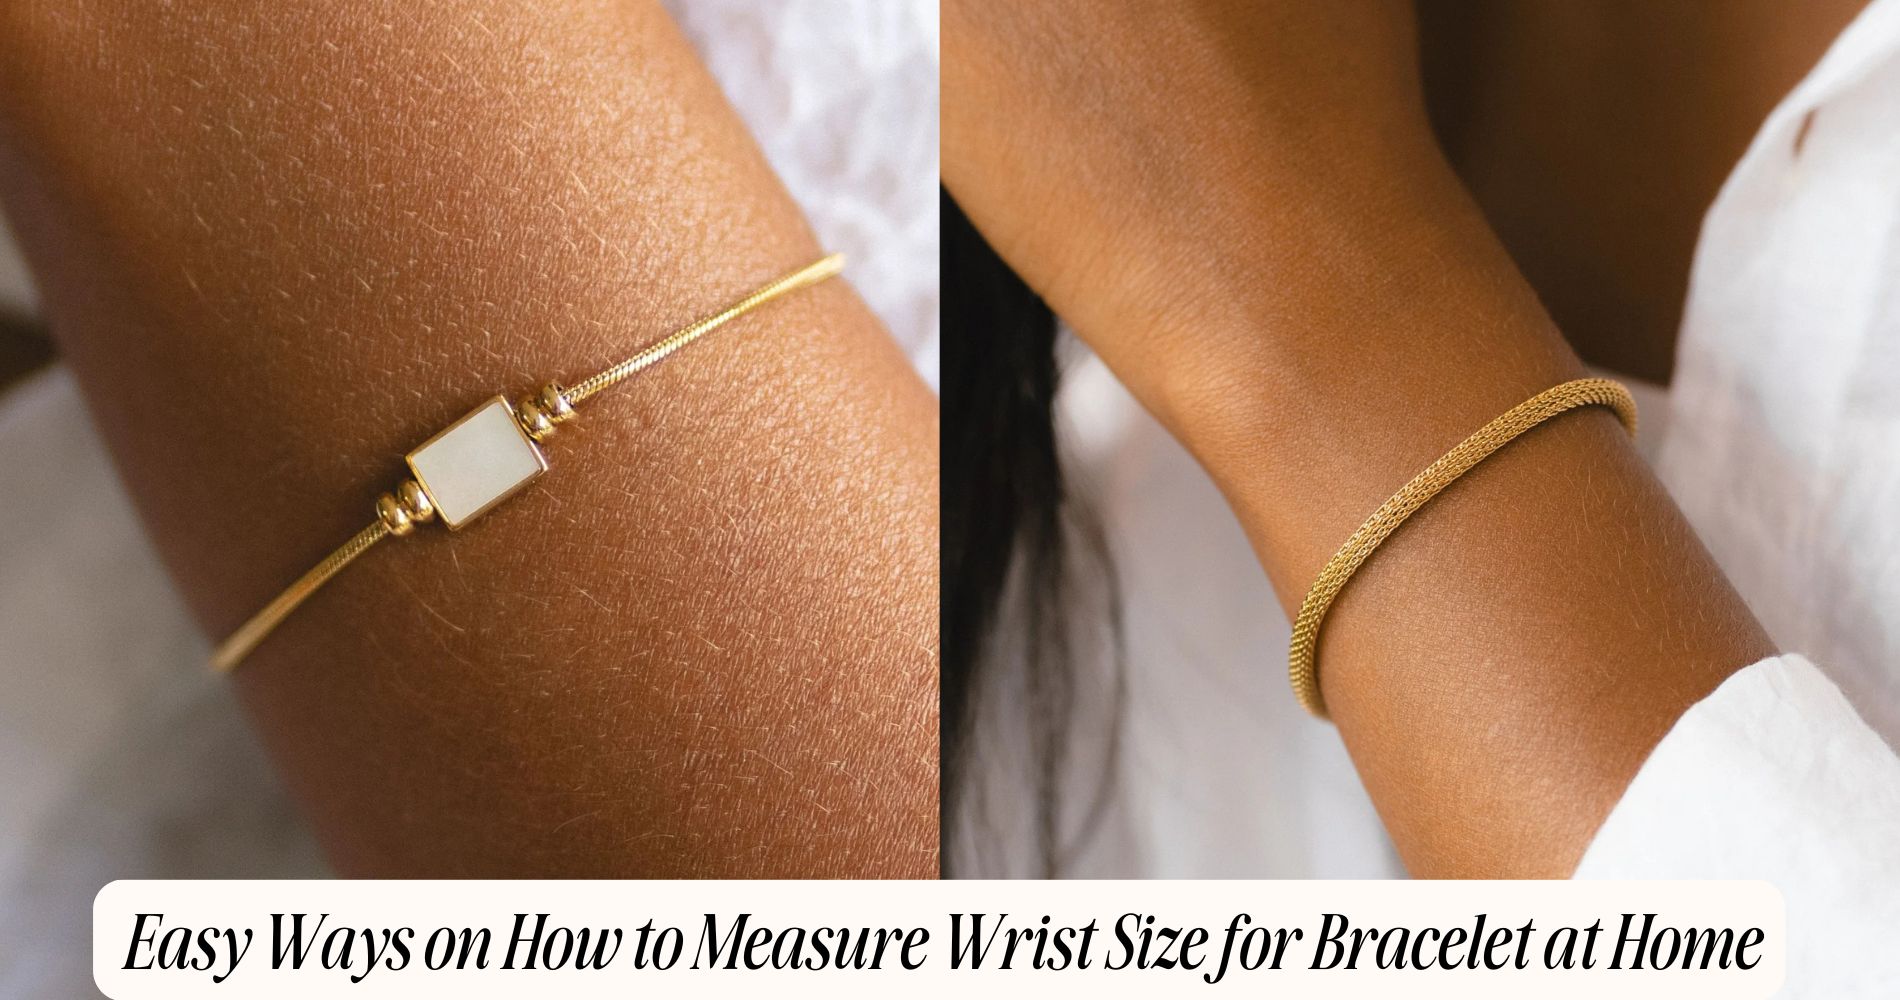
Easy Ways on How to Measure Wrist Size for Bracelet at Home
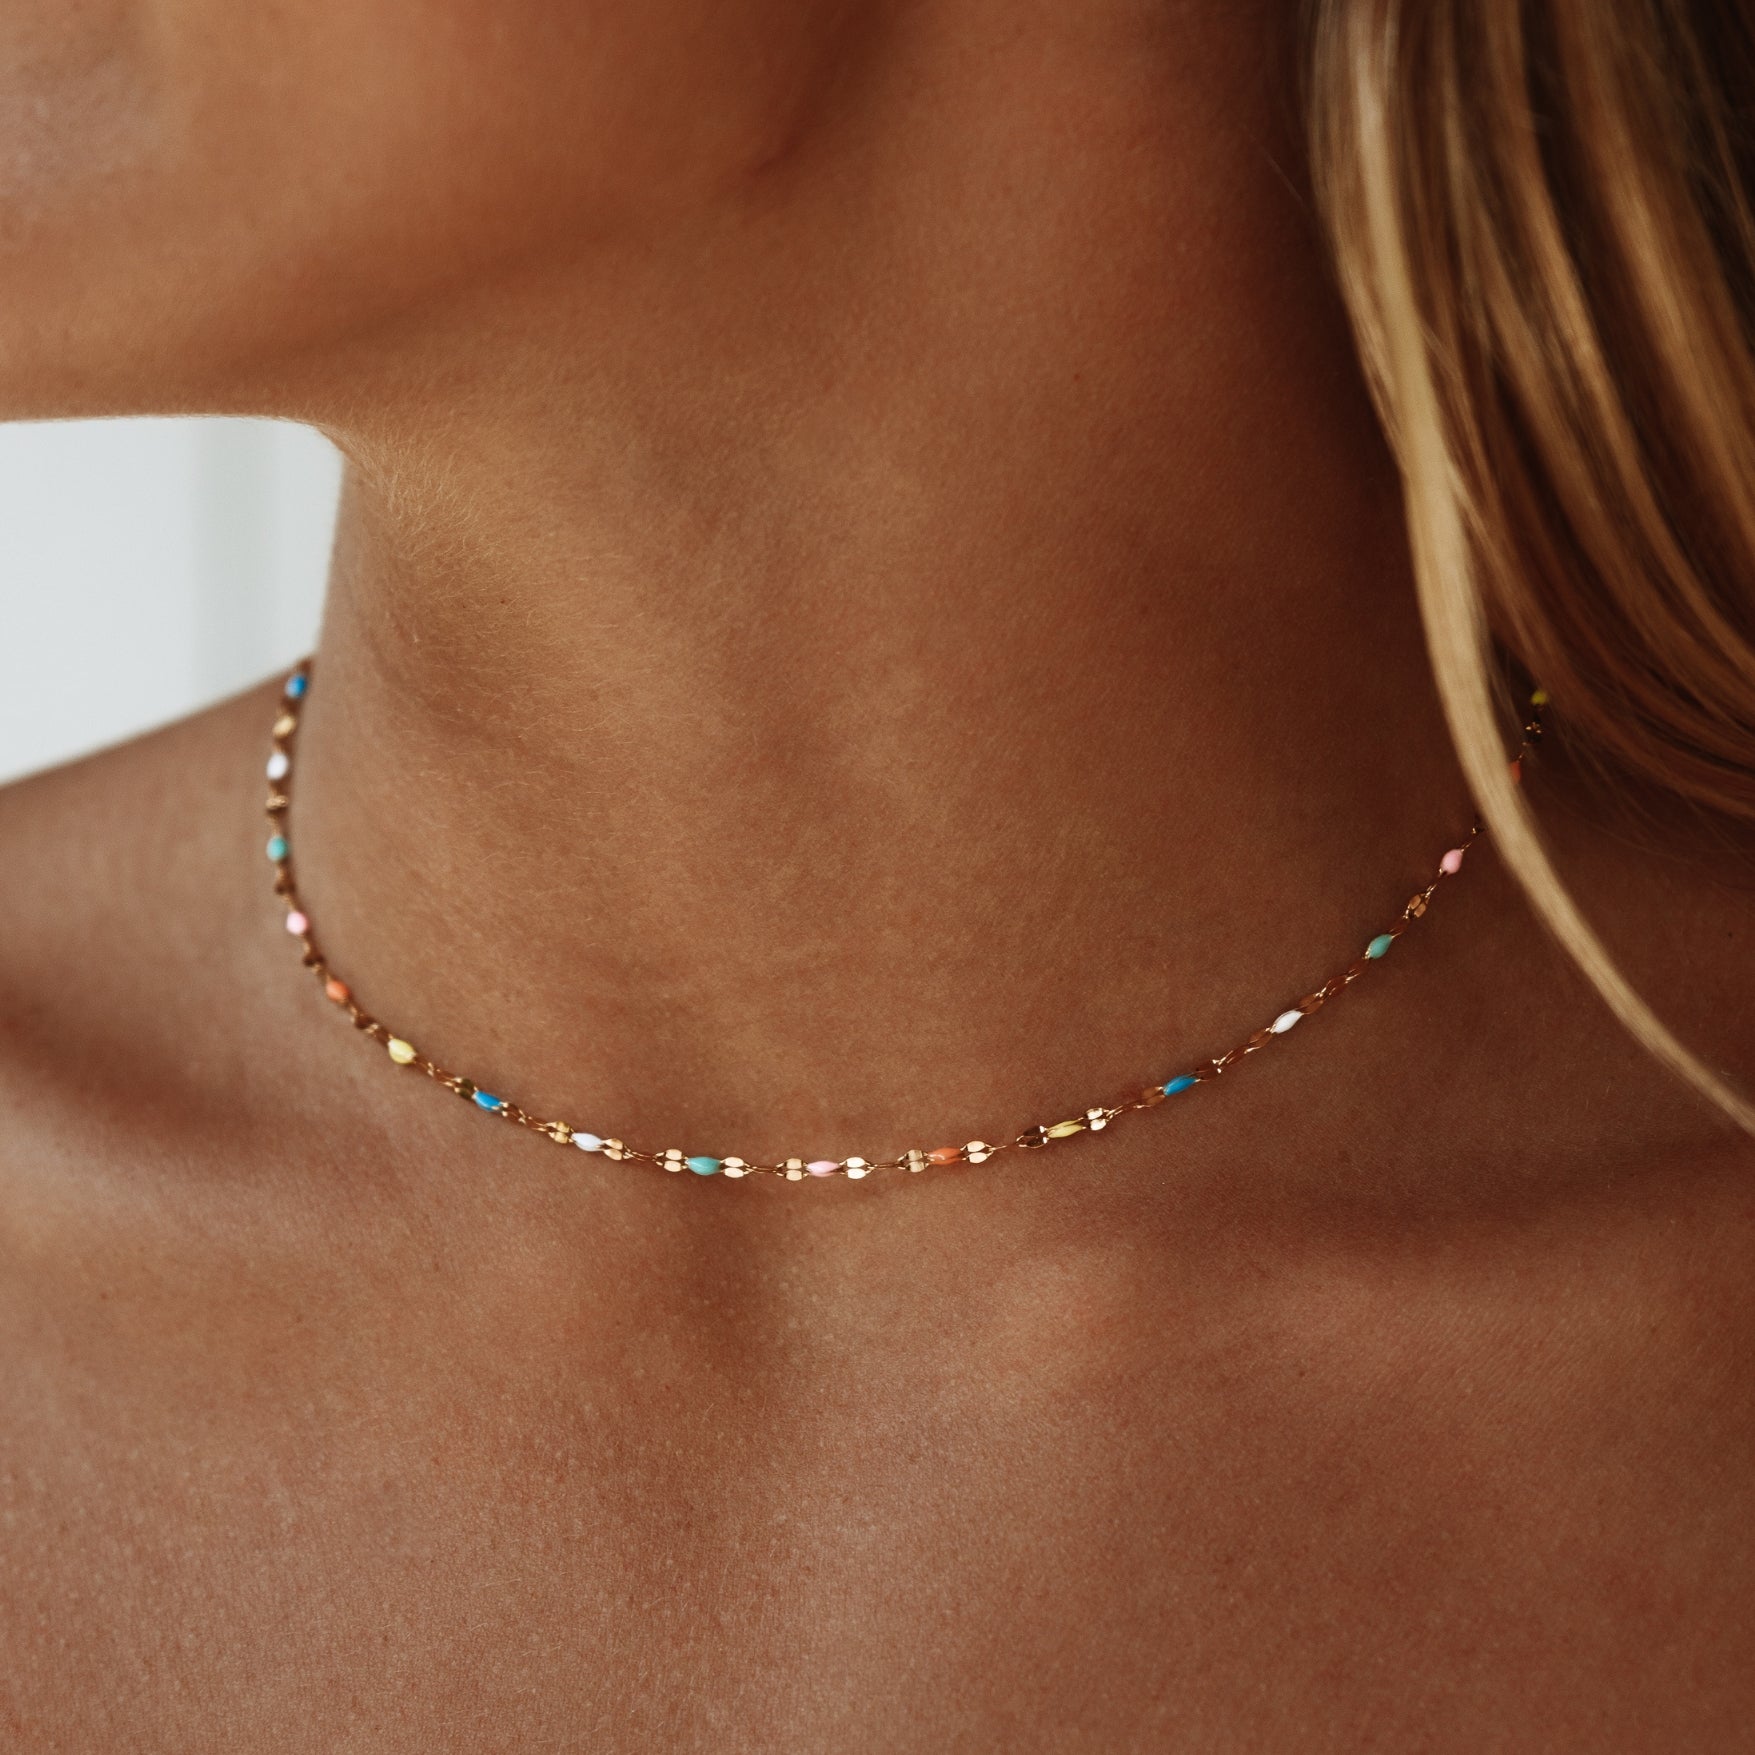
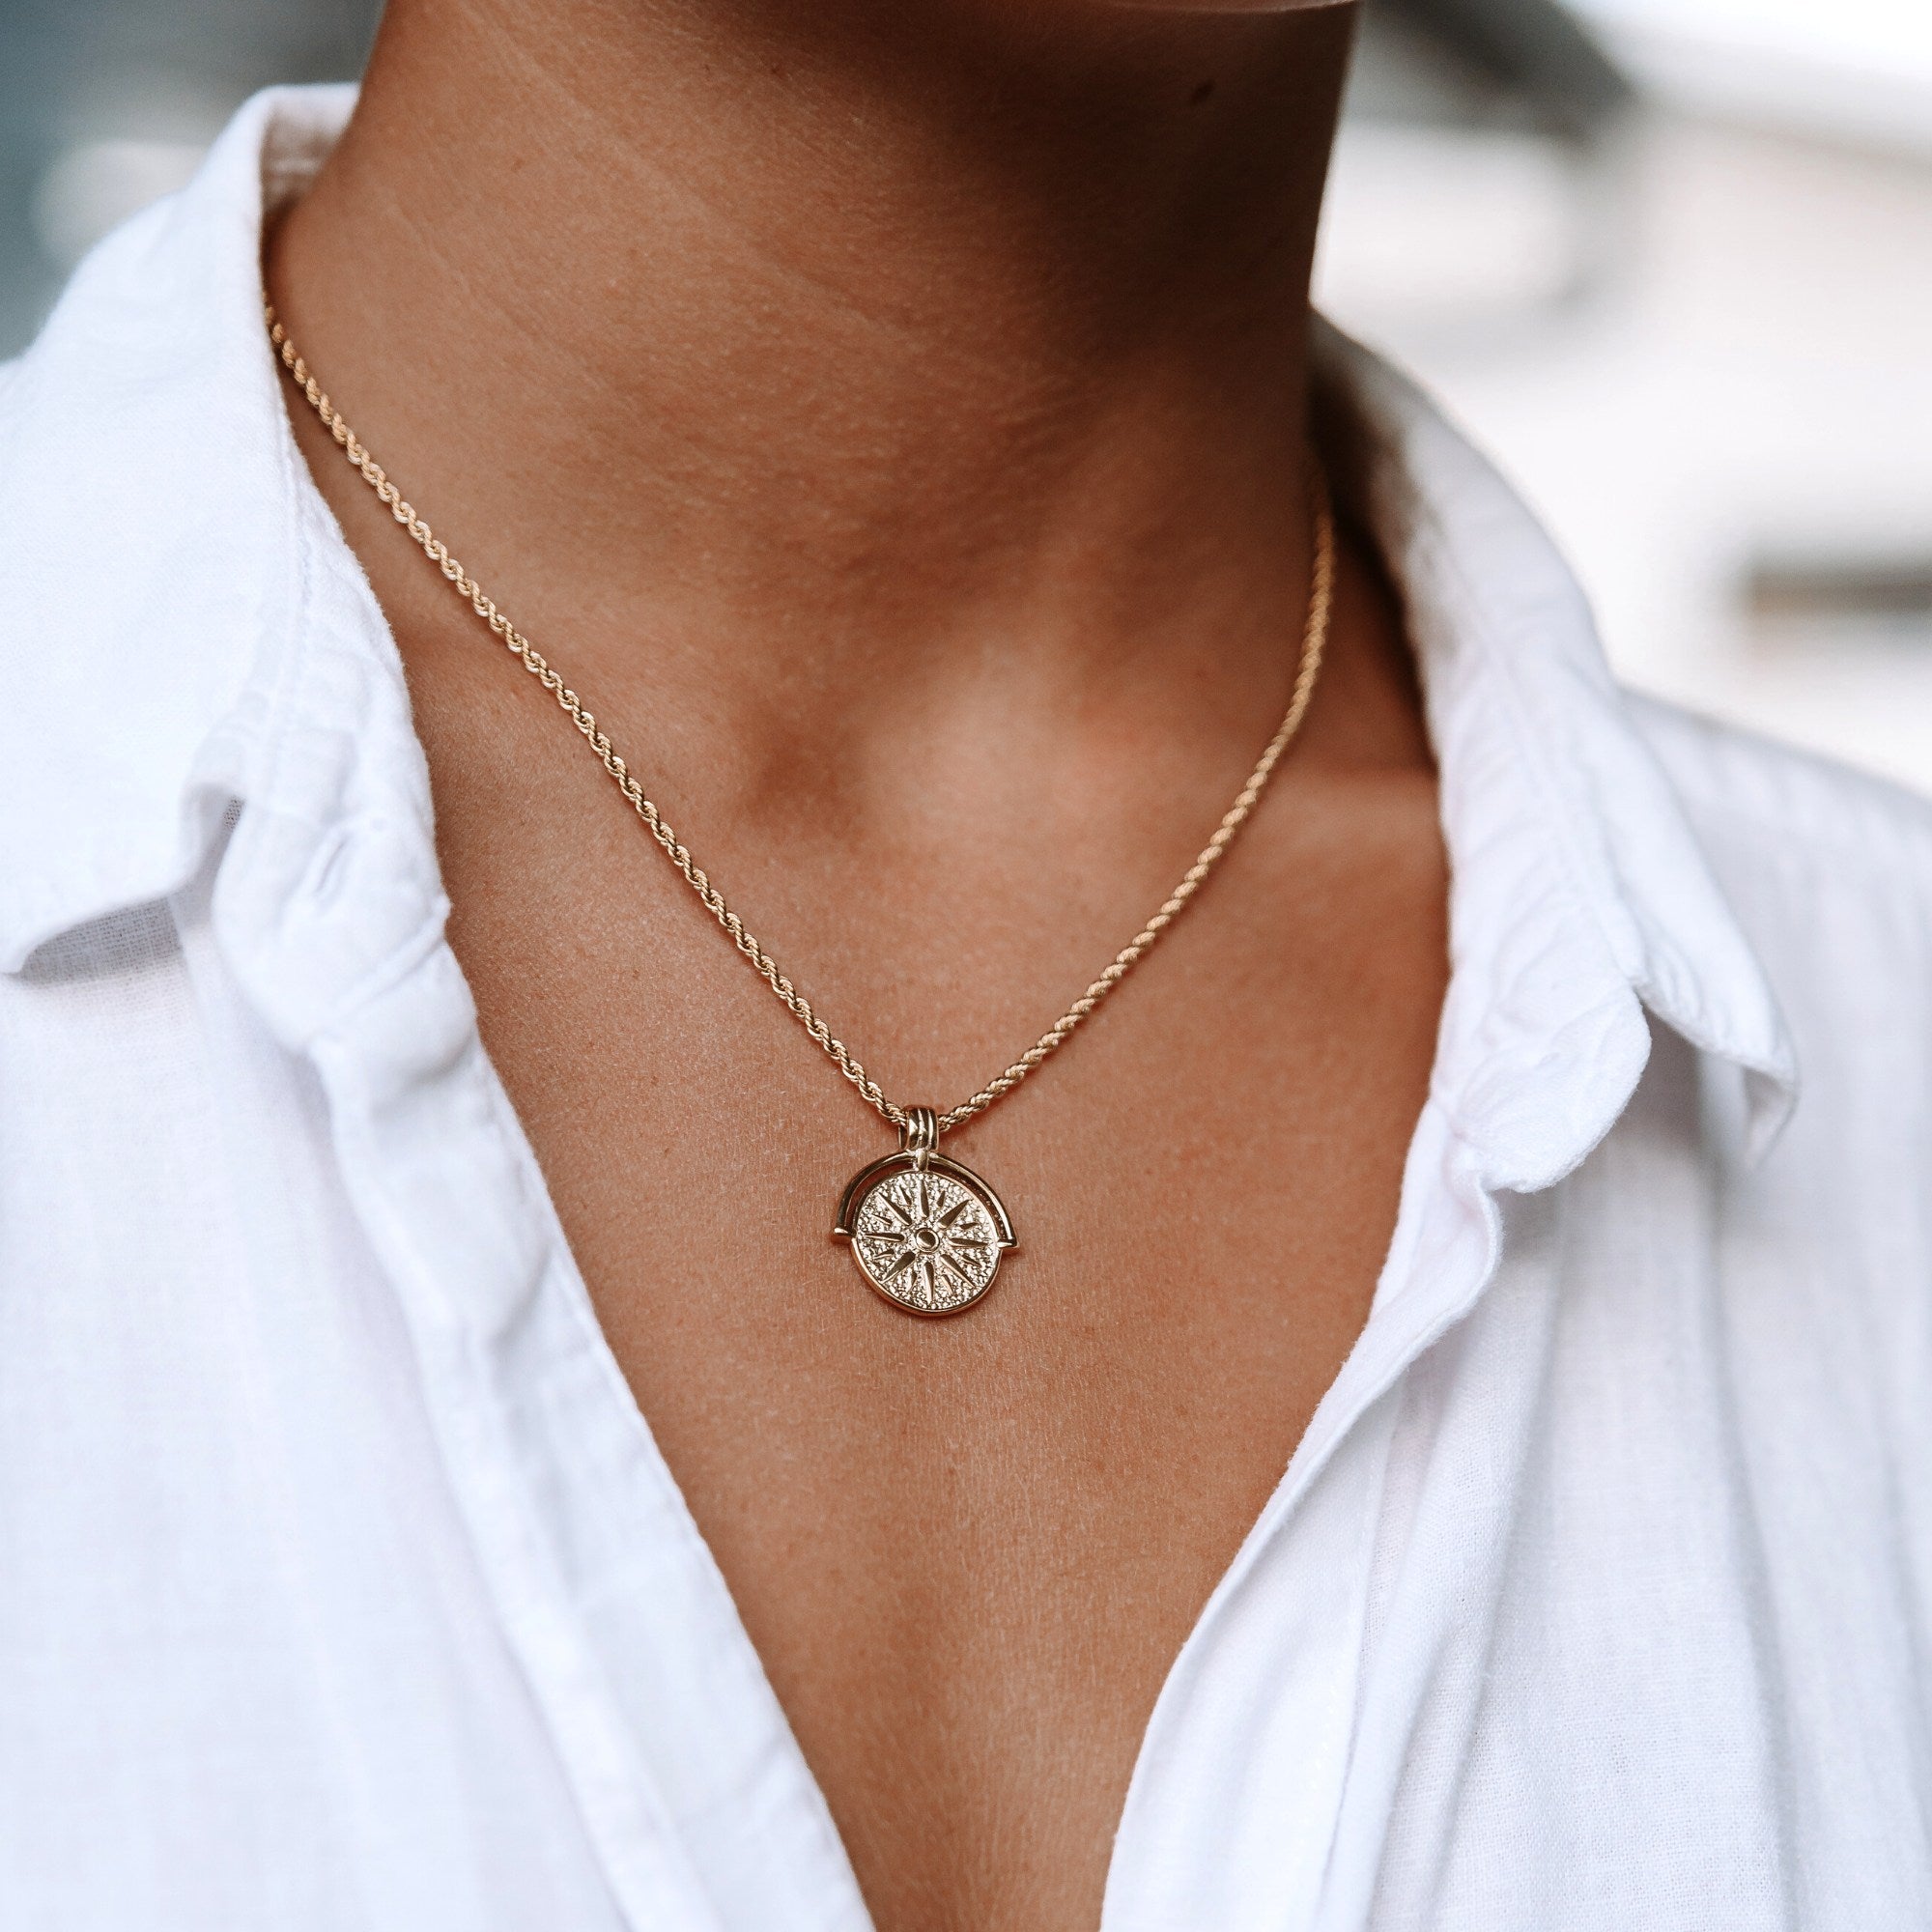
Learning how to measure wrist size for bracelet ensures a perfect, comfortable fit every time. Start by using a flexible tape: wrap it just below the wrist bone, snug but not tight, and note the circumference twice for accuracy. No tape? Use a paper strip or non-stretch string, mark where it overlaps, then measure the strip with a ruler. Record the size in millimeters. Add allowance by style: +0.25–0.5 in (stretch), +0.5–0.75 in (chain), or +0.25–0.375 in (cuffs). Avoid measuring during swollen times. Once you know your size, choose your perfect fit — explore our Dainty Gold Bracelet collection for timeless, minimalist designs.
Tools You’ll Need From Around the House
Start with simple, accurate tools you already have: a flexible measuring tape (sewing tape is ideal), a strip of paper or non-stretchy string, a fine-tip pen or pencil, and a flat ruler. These measuring tools are reliable household items and give you clean reference marks without bulk.
Choose a sewing tape with clear millimeter and inch graduations. If you lack one, use a smooth, non-elastic string or a narrow paper strip cut straight. Keep a sharp pen or mechanical pencil to mark exact contact points.

Use a rigid ruler to read the marked length precisely. Have scissors to trim paper or string squarely. A small notepad helps you record numbers and fit preferences.
Keep everything clean, flat, and dry to prevent slippage or stretch.
Step-by-Step: Measuring With a Flexible Tape
With your wrist relaxed and palm facing up, wrap the flexible tape around the spot just below the wrist bone where a bracelet sits. Keep the tape flat, aligned, and snug without compressing the skin. Note the point where the zero mark meets the scale. That’s your exact wrist circumference.
Confirm accuracy using consistent tape measurement techniques: measure twice, at the same location, and average if readings differ by 1–2 millimeters. Record in millimeters for precision, then convert to inches if needed.
Consider wrist size importance: it dictates bracelet sizing, comfort, and clasp performance. For a fitted bracelet, add 6–10 mm to the circumference. For a relaxed fit, add 10–15 mm.

Keep the tape parallel to the floor, avoid twisting, and measure on your dominant hand.
Step-by-Step: Measuring With Paper or String
No flexible tape on hand? Use paper or string to get a precise wrist size. Cut a narrow strip of paper or grab non-stretch string. Wrap it around the spot where you’ll wear the bracelet, keeping it snug but not tight. Mark the meeting point with a pen.
Lay the strip flat and measure from the end to the mark with a ruler in millimeters—this is your wrist circumference.
For consistent wrist measurement techniques, repeat the wrap twice to confirm the mark lands in the same place. If you’re between marks, round to the nearest millimeter.
To apply accurate sizing methods, add a small allowance later; for now, record only the exact circumference. Avoid elastic cord, which skews results. Store the measurement for easy reference.
How to Choose the Right Fit by Bracelet Style
Choosing the right fit depends on the bracelet’s construction and how it moves on your wrist. Match your fit preferences to bracelet styles.
For beaded stretch bracelets, add 0.25–0.5 in to your wrist size for a snug, breathable fit; larger beads need a touch more ease.

For chain bracelets with clasps, add 0.5 in for daily comfort; choose 0.75 in if you prefer light drape.
For bangles, measure widest hand span and select a diameter that slides on but doesn’t spin excessively; oval bangles track the wrist better, so choose closer tolerance.
For cuffs, measure tight to skin, then add 0.25–0.375 in; maintain a slight gap for sliding on without bending.
For smart or charm bracelets, add 0.25–0.5 in to accommodate hardware.
Common Sizing Mistakes to Avoid
Although measuring seems straightforward, several predictable mistakes can derail bracelet sizing. Don’t use a rigid ruler; a flexible tape or paper strip follows your wrist’s contour.

Avoid measuring over sleeves or swollen skin; measure directly on bare skin at your wrist bone when you’re relaxed. Note dominant-hand wrists often run larger—measure the wrist you’ll wear the bracelet on. Record millimeters for accuracy.
Common sizing errors include pulling the tape too tight, ignoring the allowance for movement, and rounding up or down excessively. Add the correct ease: 5–10 mm for snug, 10–15 mm for comfort, 15–20 mm for loose.
Re-measure at least twice and average. For chain or beaded styles, account for clasp length. When avoiding measurement mistakes, verify brand-specific size charts before purchasing.
Frequently Asked Questions
How Do I Measure Wrist Size for a Surprise Gift Discreetly?
Use discreet methods: compare their watch band length, borrow a bracelet “for cleaning,” or measure a napkin ring they use. Wrap string during sleep, mark, measure. Choose adjustable designs. These gift giving tips keep sizing accurate without spoiling surprises.
Can I Convert Wrist Sizes Between Inches and Millimeters Quickly?
Yes. Multiply inches by 25.4 to convert to millimeters; divide millimeters by 25.4 for inches. Use measuring tools like a ruler, tape, or calipers. For rapid wrist size conversion, rely on a calculator or conversion app.
How Do Seasonal Temperature Changes Affect Wrist Measurements?
Seasonal temperature fluctuations cause slight wrist swelling in heat and minor contraction in cold. You’ll see 2–5 mm variation. Measure at different times, average results, and add 5–10 mm comfort allowance for bracelets to guarantee consistent, reliable fit.
What if My Wrist Is Asymmetrical or Has a Prominent Bone?
Choose the larger circumference. Measure both sides over the widest point, accounting for asymmetrical wrists and prominent bones. Add 5–10 mm ease for rigid bangles, 3–6 mm for flexible bracelets. Prefer adjustable clasps or cuffs for comfort.
How Do I Measure for Adjustable or Expandable Bracelets?
Measure your snug wrist size, then add 0.25–0.5 inches for adjustable bracelet tips, ensuring comfortable movement. For expandable bracelet methods, measure knuckle circumference, subtract 0.25 inches, and confirm the bracelet slides over without pinching, twisting, or excessive gapping.
Conclusion
You’ve got everything you need to measure your wrist accurately at home. Use a flexible tape for the cleanest read, or paper/string plus a ruler if that’s handy. Note the snug measurement, then add 0.25–1 inch depending on bracelet style and how you like it to fit. Double-check that the string isn’t twisting and read at the widest wrist point. Record your exact number. With these steps, you’ll order confidently and avoid returns.


Leave a comment
This site is protected by hCaptcha and the hCaptcha Privacy Policy and Terms of Service apply.