
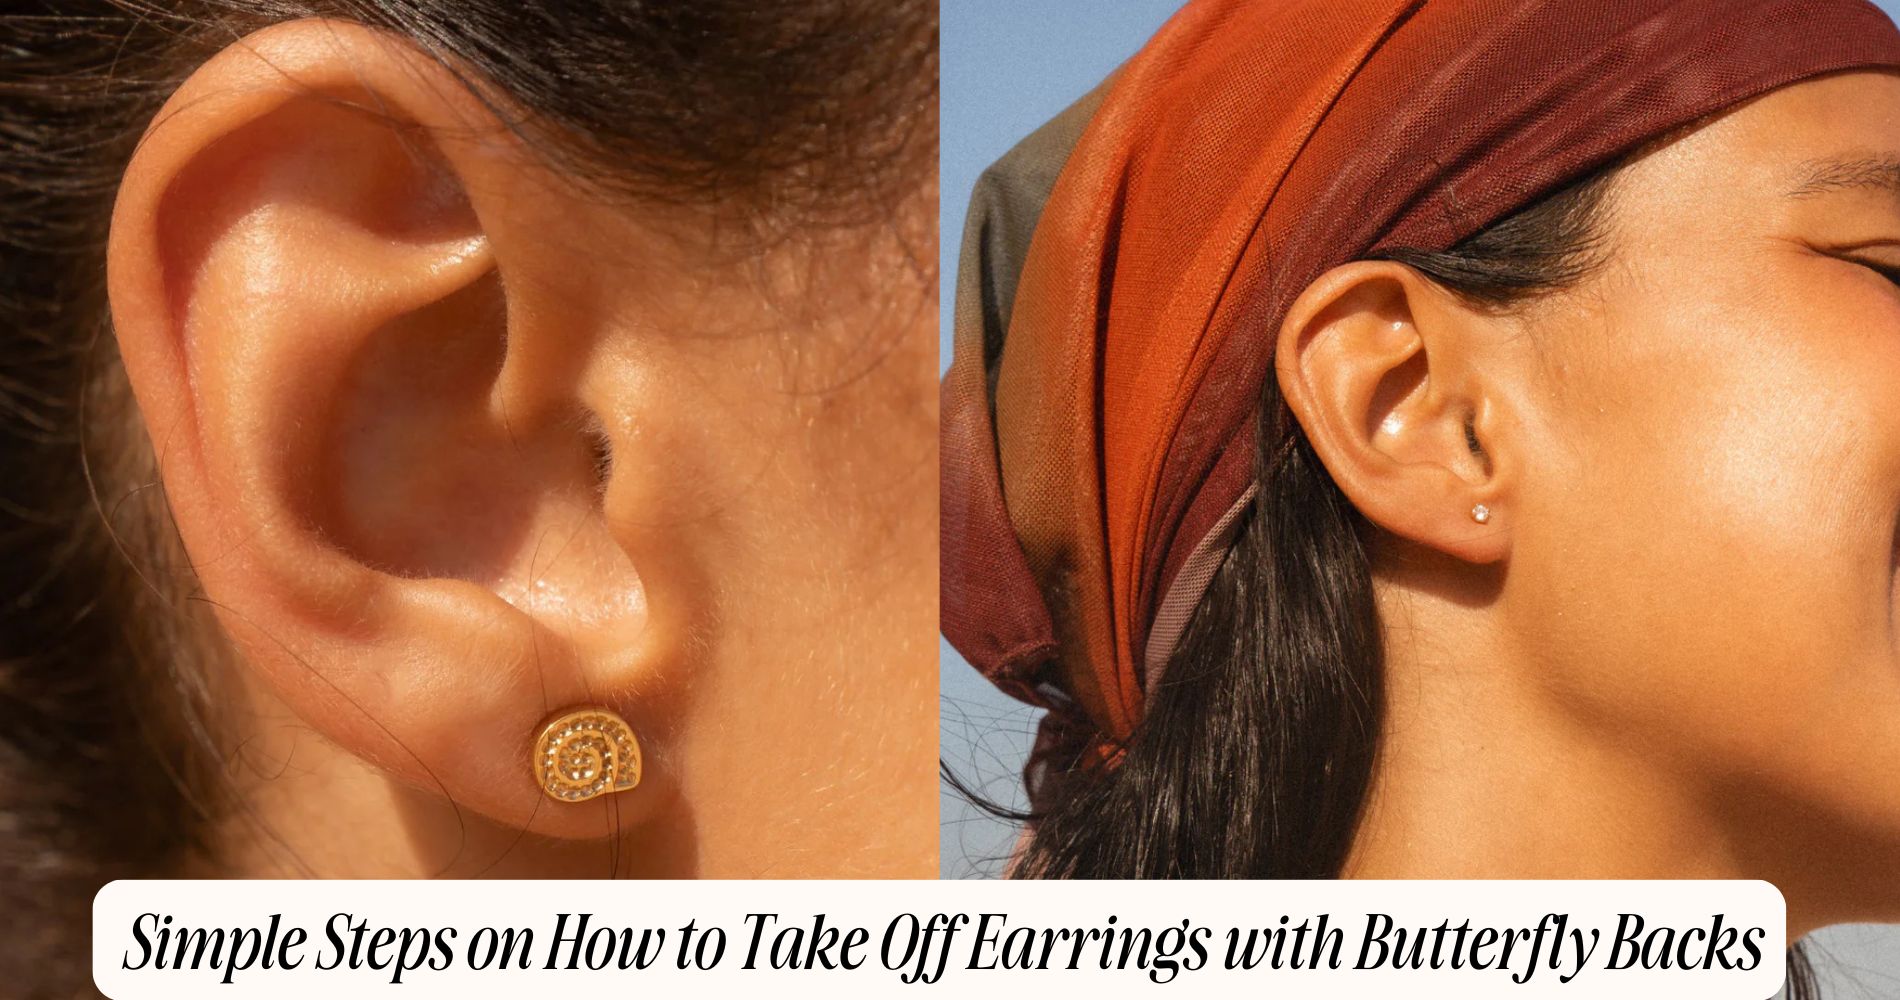
Simple Steps on How to Take off Earrings With Butterfly Backs
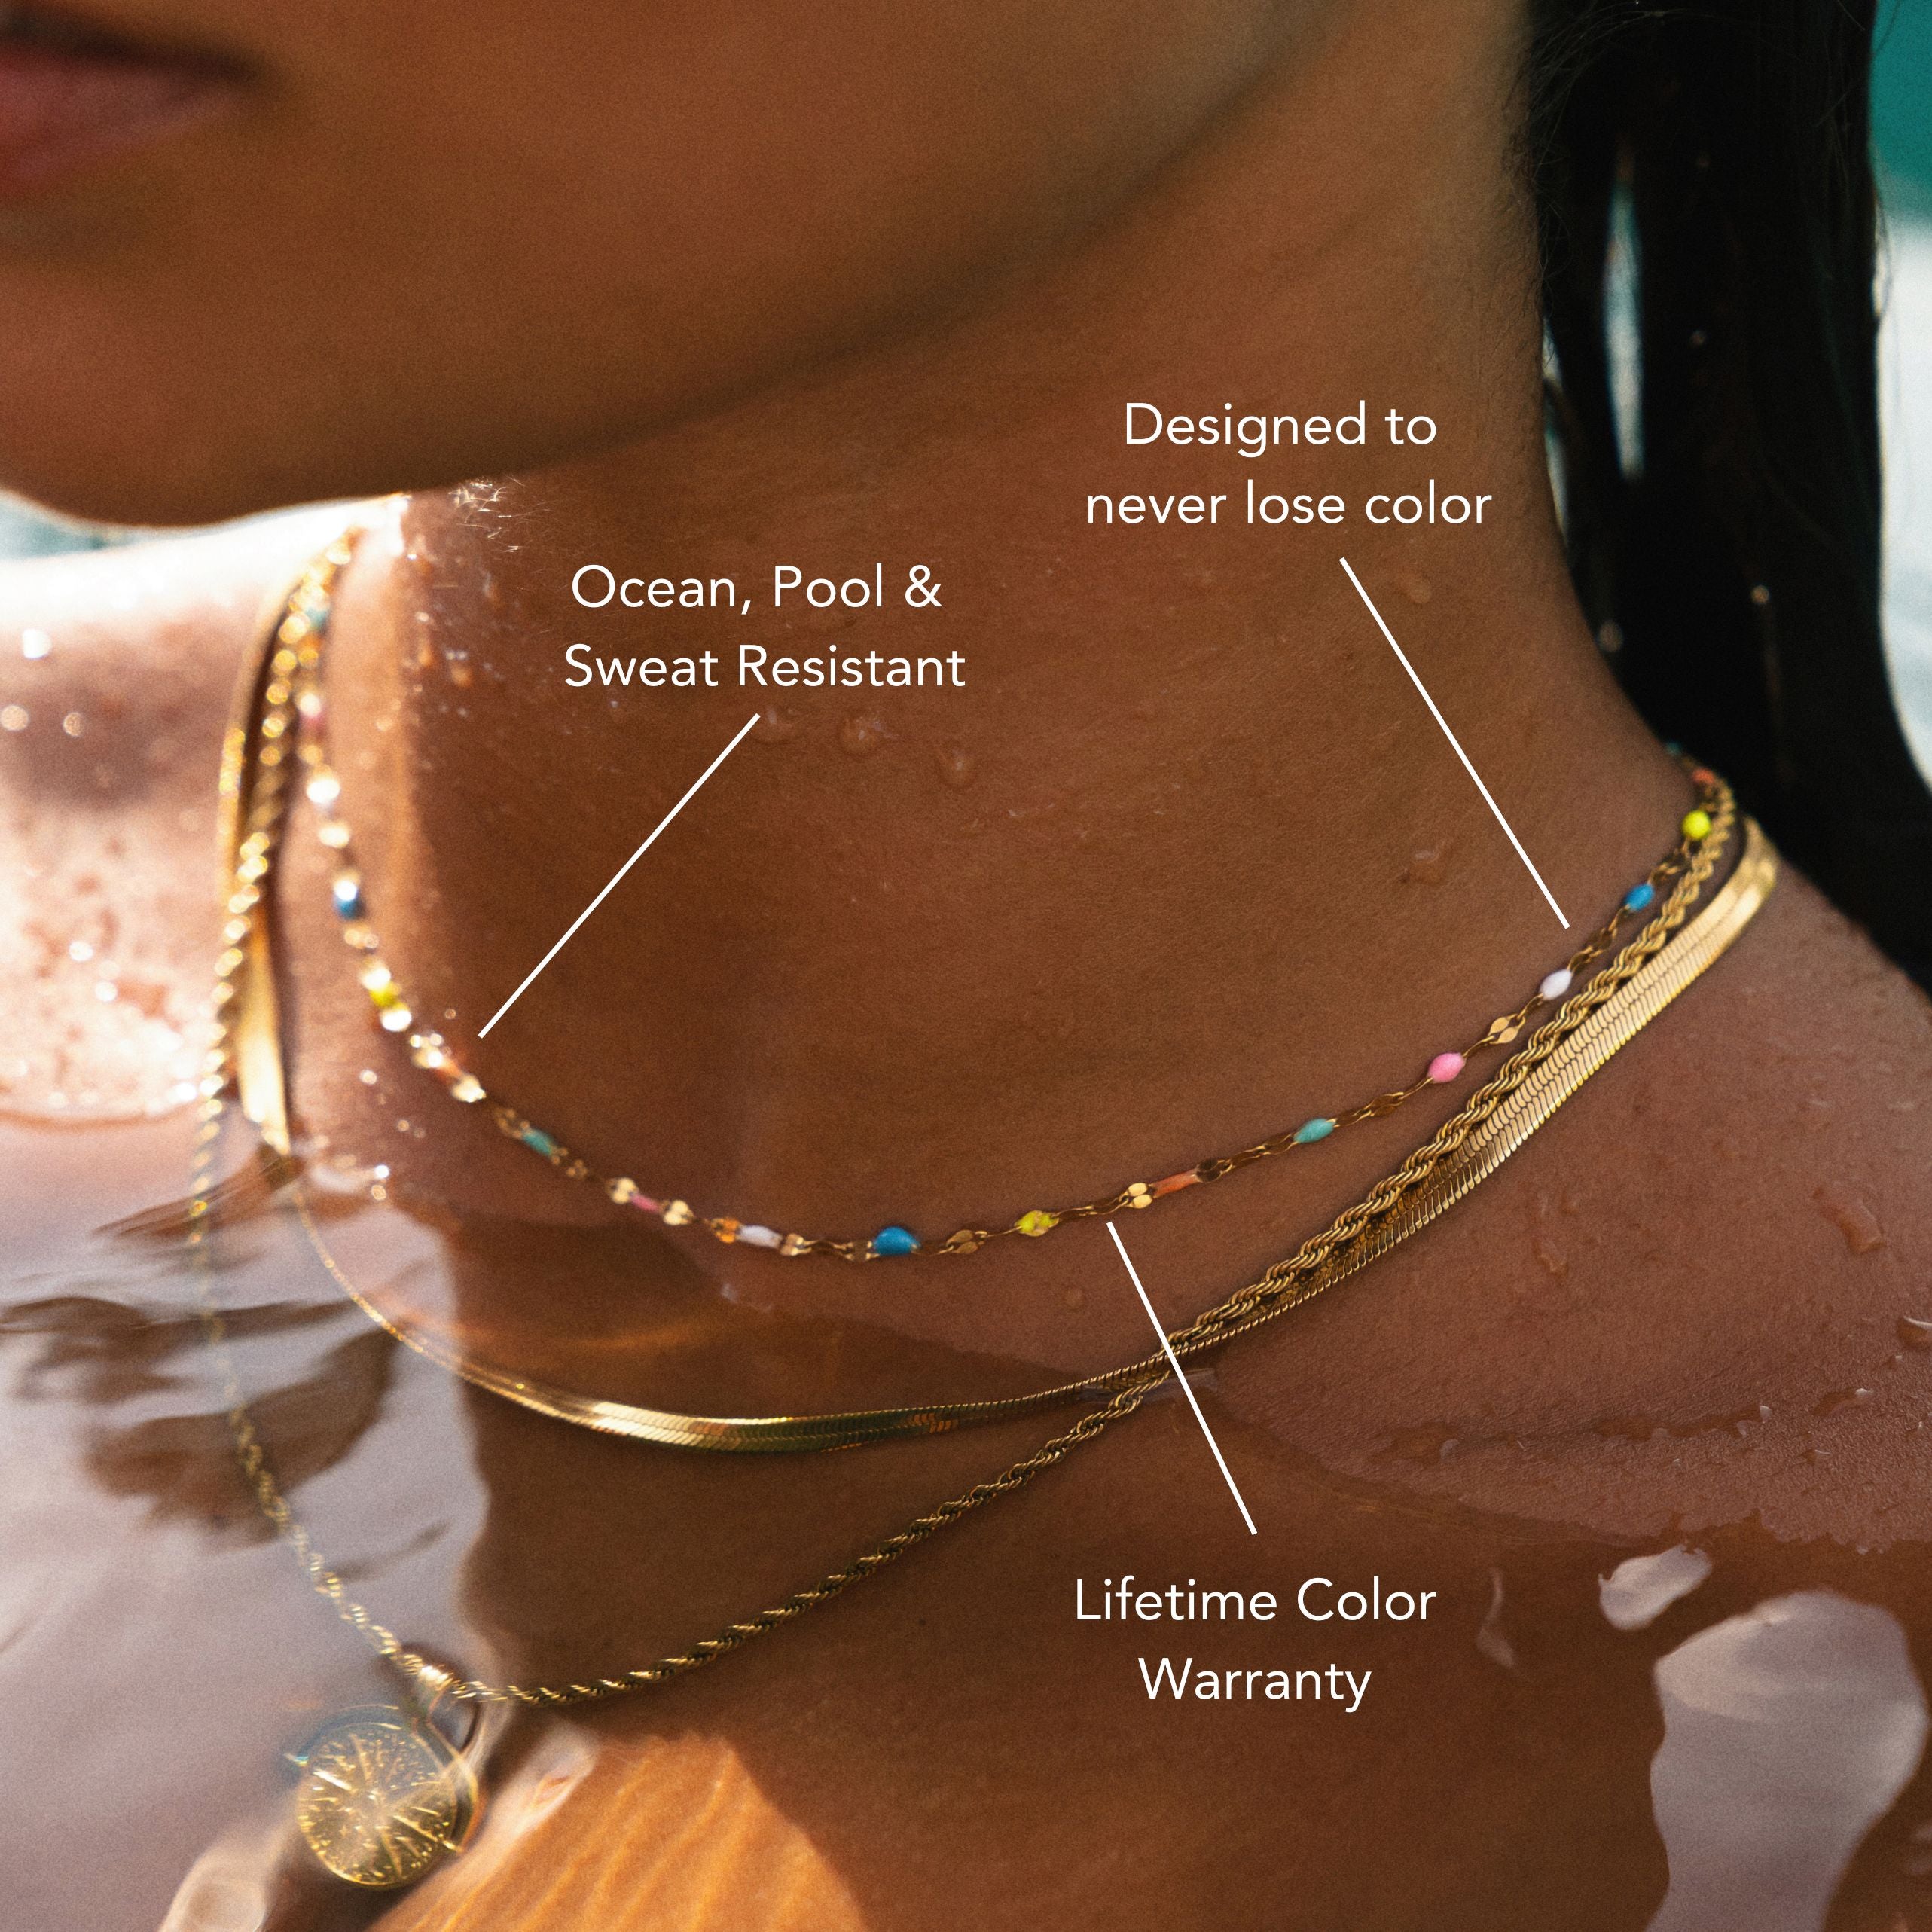
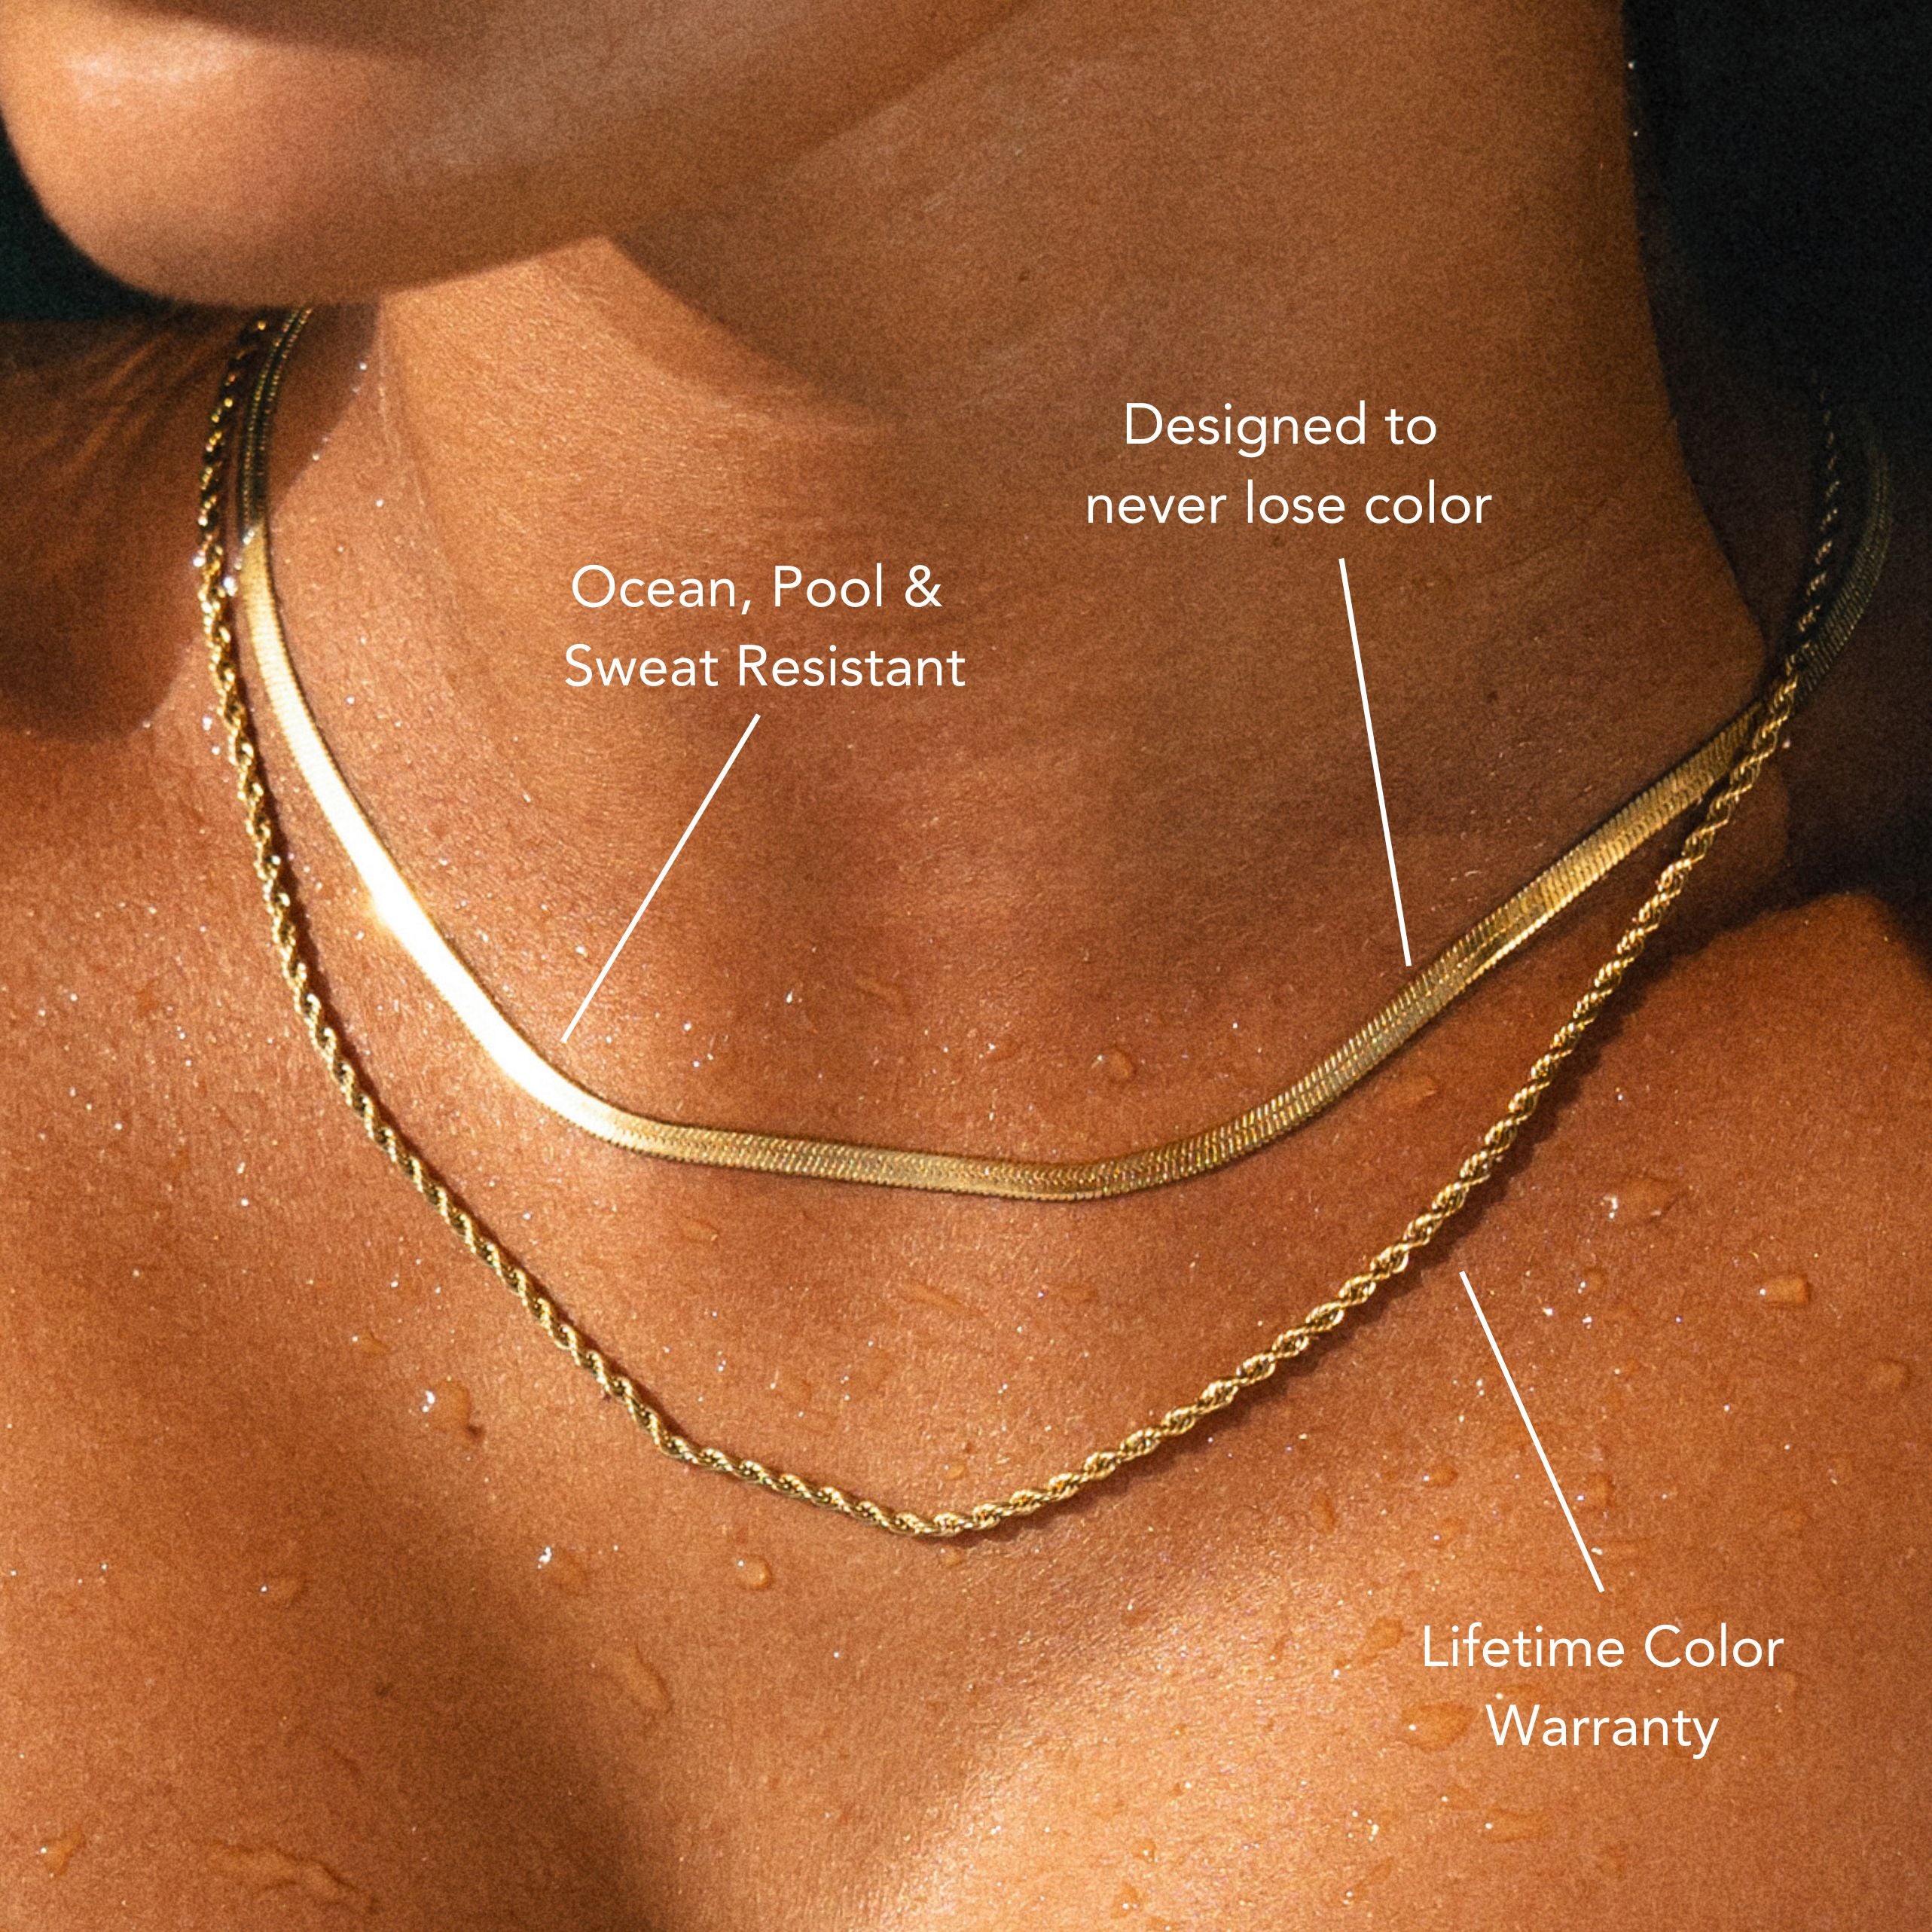
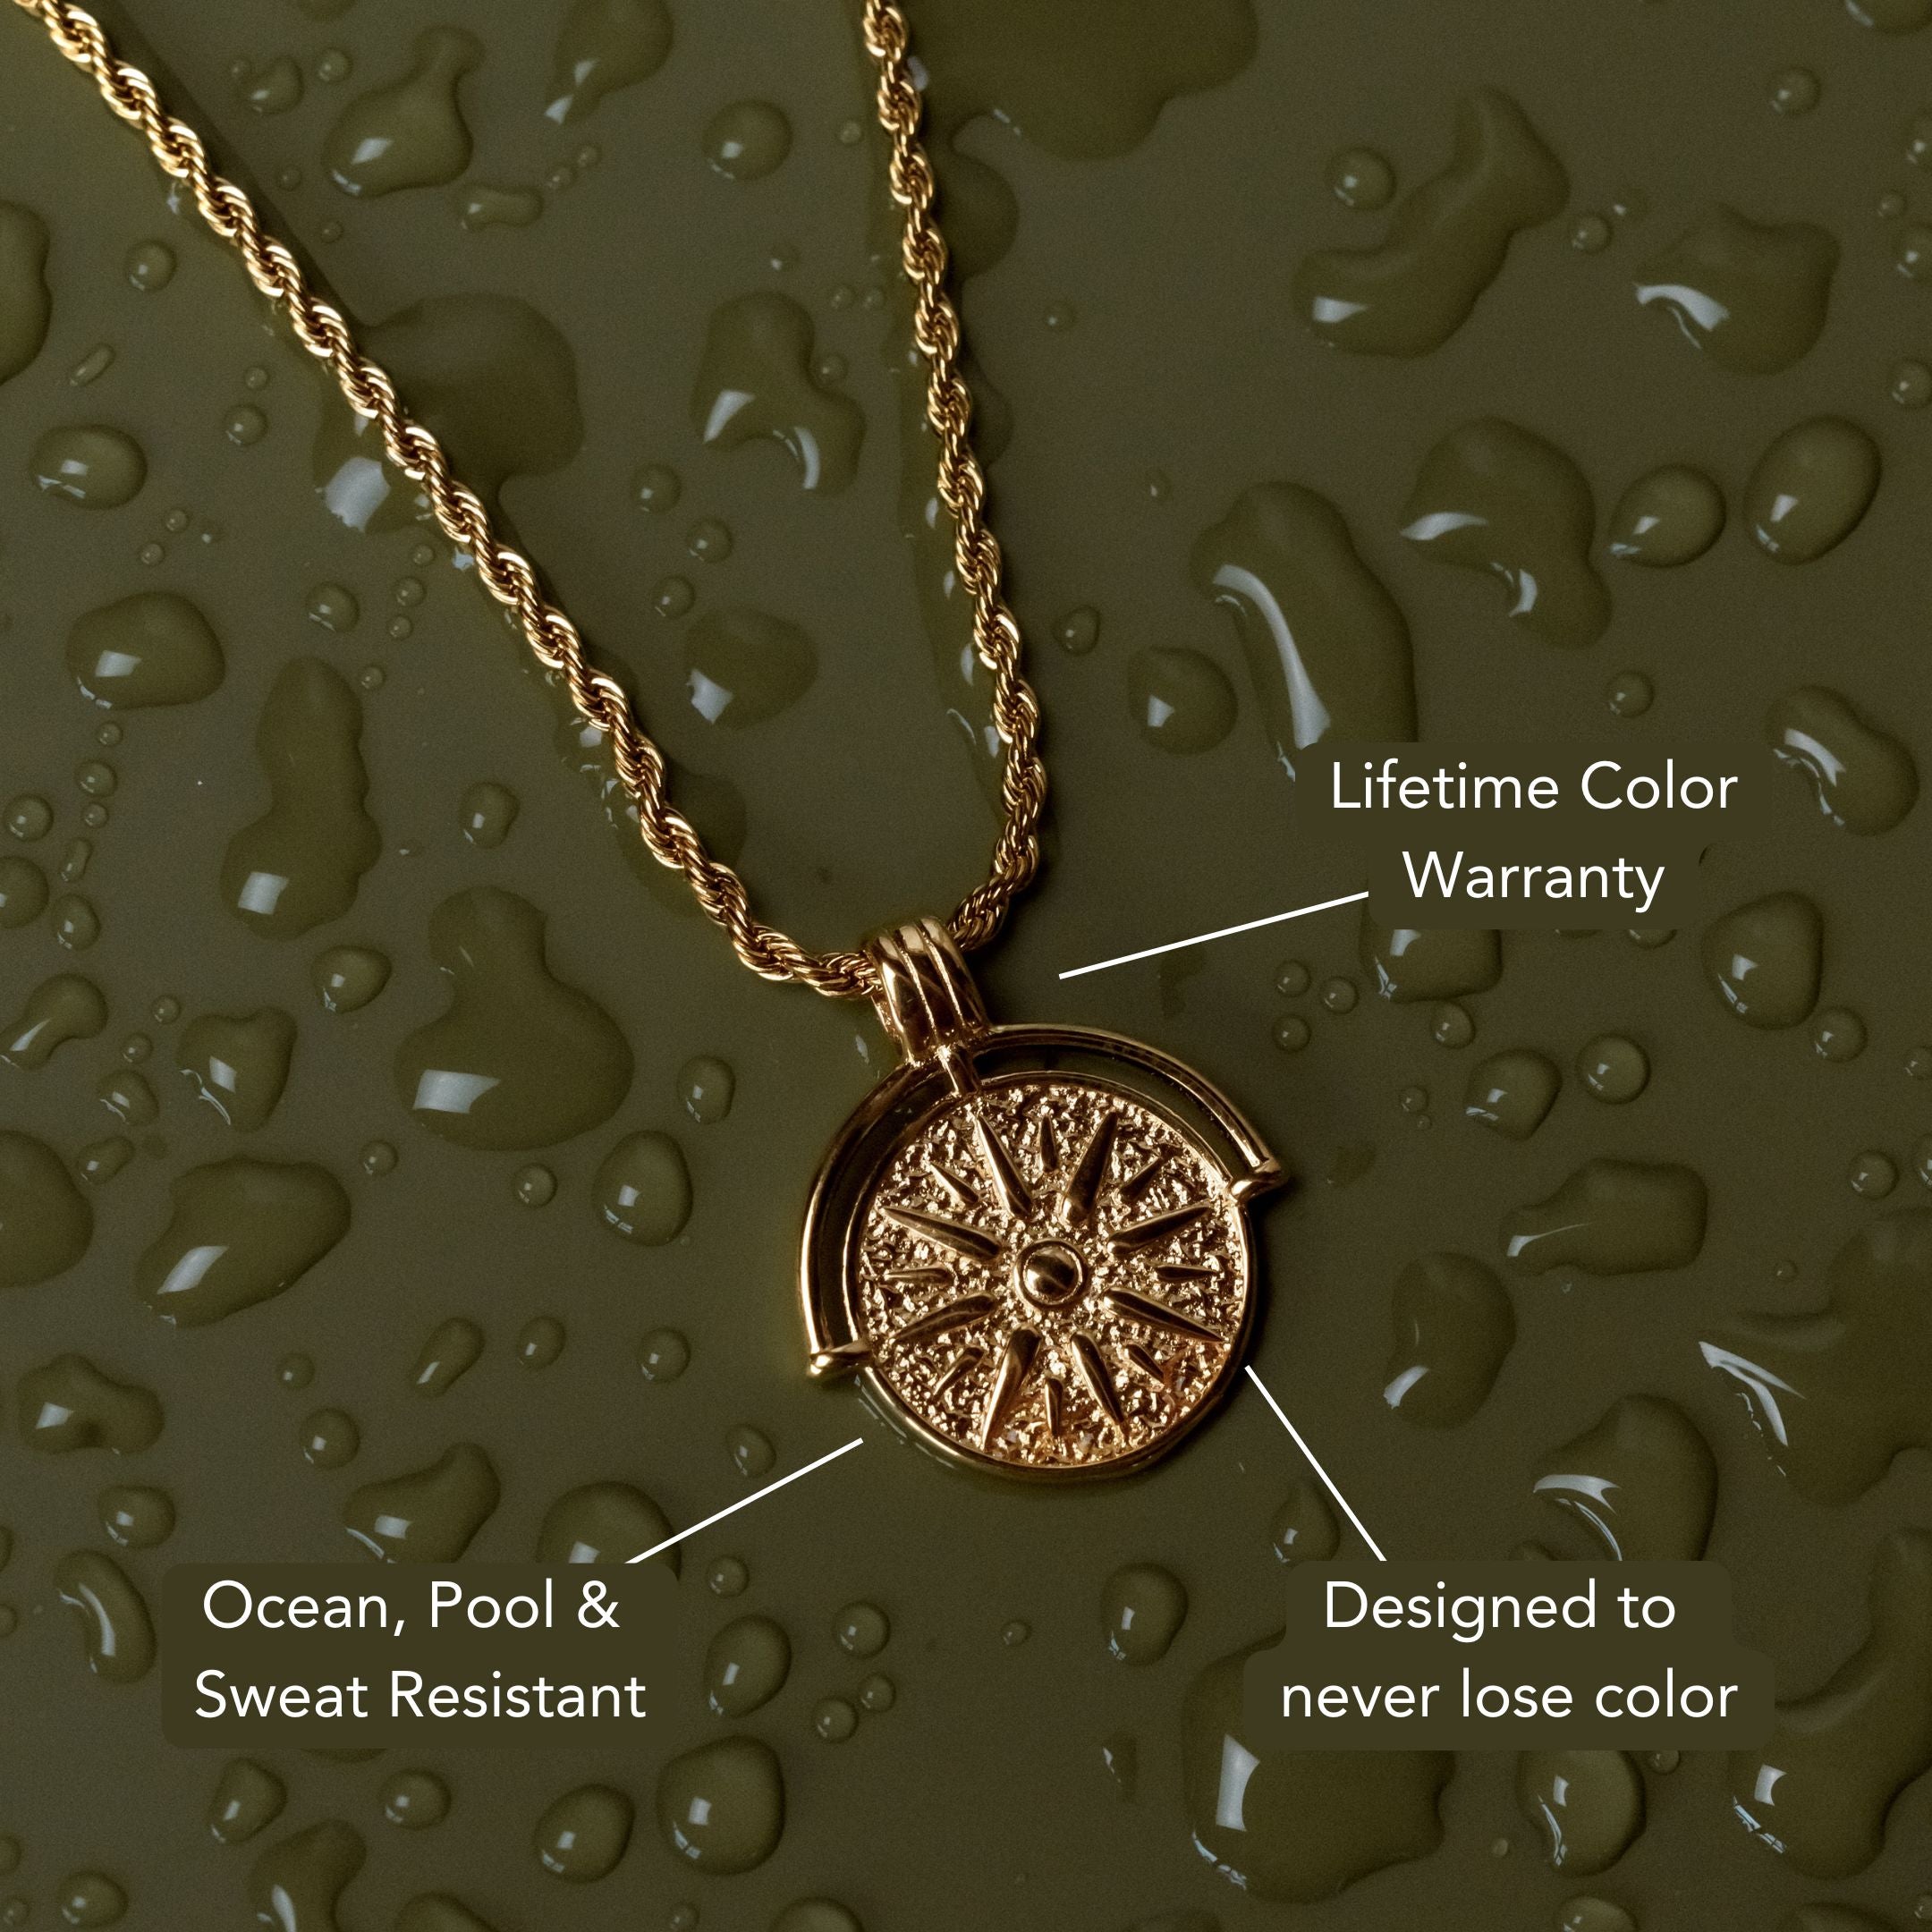
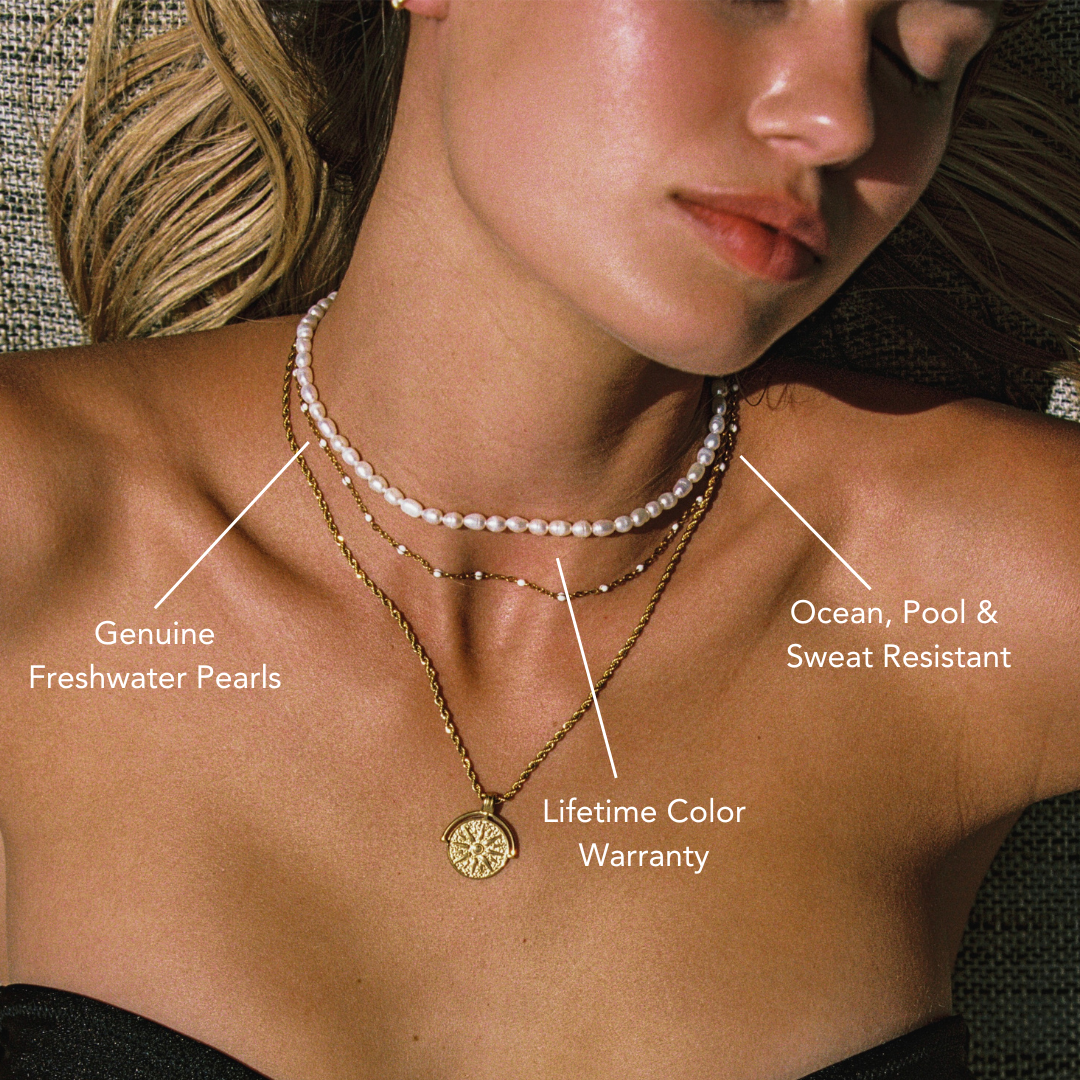
Learning how to take off earrings with butterfly backs safely starts with proper hygiene and gentle handling. Wash your hands, sanitize, and set a clean surface before you begin. Check your earlobes for any redness or discharge. Hold the stud front firmly to prevent rotation, keeping the post steady near your lobe. Then, pinch the butterfly back’s outer “wings” with even pressure—avoid twisting or prying. Gently slide the loosened back straight off, then guide the post forward in one smooth motion. Afterward, clean both your earrings and lobes with saline or 70% alcohol (skip the peroxide). If you notice irritation, give your ears time to heal. For earrings that stay stunning through every wear, explore our Waterproof Earrings collection.
Gather Clean Tools and Wash Your Hands
Start with clean, sterile basics: wash your hands thoroughly with soap and warm water for at least 20 seconds, scrubbing under nails, then dry with a disposable towel.
Apply 60–70% alcohol-based hand sanitizer and allow complete evaporation. Inspect your earlobes for redness, discharge, or swelling; if present, defer removal and seek clinical guidance.
Prepare a clean workspace: disinfect a nonporous surface and lay a sterile pad.
Prioritize hygiene practices by avoiding reusable cloths and keeping hair secured. For tool selection, gather sterile cotton swabs, single-use alcohol wipes, and non-powdered nitrile gloves.

If you use tweezers, choose medical-grade, fine-tip, sanitized with isopropyl alcohol. Keep sterile saline on hand to cleanse the area.
Maintain aseptic technique: don gloves last, avoid touching non-sterile items, and re-sanitize if contaminated.
Stabilize the Earring Front for a Secure Grip
With clean gloves on, gently cradle the decorative front (stud) between your thumb and index finger to prevent rotation. Anchor the post close to the earlobe to minimize torque on the piercing channel. Apply light, steady counter-pressure so the stud remains stationary while you prepare the backside.

Adjust your grip based on earring types: for flat-disc fronts, use a pinch grip; for prong-set stones, hold the metal base, not the gemstone; for textured or domed fronts, use silicone finger cots for added friction.
Use stabilization techniques that protect tissue: keep contact points dry, avoid twisting forces, and maintain a neutral wrist. If the lobe is tender or swollen, pause and use a cold compress to reduce edema before regripping.
Confirm you’re holding the stud—not skin or hair.
Loosen the Butterfly Back Gently and Evenly
Maintain your steady hold on the stud, then bring your other hand to the butterfly back and apply even, opposing pressure to both “wings.”
Pinch the flanges near their outer edges, not the center, to prevent bending. Use small, controlled compressions to slightly relax the clutch tension. Keep the motion symmetrical so the internal spring plates release uniformly, reducing torsion on the post and lobe.

Assess butterfly back types as you work: some have firmer bi-metal springs, others use softer stamped brass. Adjust force according to earring materials—gold and silver backs deform more easily than stainless steel or titanium.
If resistance is high, stop and regrip; don’t twist or pry. For sensitive skin, place a clean gauze pad between fingers and lobe to distribute pressure and prevent slippage.
Remove the Back and Slide the Post Out Safely
Ease the relaxed butterfly straight off the post while keeping a steady grip on the stud to prevent post wobble against the lobe.
Keep your fingers dry for control. Pull the back in a straight line; don’t twist or angle it, which can scrape the post or irritate tissue. If you feel resistance, pause, reset your grip, and resume with light, linear pressure.
Once the back clears the notches, stabilize the stud head and slide the post forward through the piercing in one smooth motion.
Maintain neutral wrist alignment to avoid snagging hair or skin. Monitor for discomfort; stop if you feel sharp pain.
Place the back and stud on a clean surface to support ear care and responsible jewelry maintenance. Store components separately to prevent bending or contamination.
Clean the Earring and Soothe Your Earlobe
First, wash your hands, then disinfect the jewelry and lobe. Apply 70% isopropyl alcohol or a sterile saline solution to a clean cotton pad. Wipe the post, butterfly back, and front setting to maintain earring hygiene. Avoid harsh cleaners on porous stones or plated metals.

For ear care, gently cleanse the piercing site with saline; don’t use hydrogen peroxide, which can delay healing. If the lobe feels tender, apply a cool compress for 5–10 minutes to reduce inflammation. Use a thin layer of fragrance-free, hypoallergenic emollient around (not inside) the piercing to soothe dryness.
Inspect for redness, heat, discharge, or odor; these signs warrant medical advice. Store the earring in a clean, dry container to prevent contamination and future irritation.
Frequently Asked Questions
How Do I Remove a Stuck Butterfly Back From Swollen Ears?
Clean hands, then apply cold compress to swollen ears. Disinfect. Lubricate with sterile saline or water-based gel. Stabilize post, gently wiggle stuck earrings’ back off. Stop if severe pain. Seek urgent care for embedded backs, pus, fever, or persistent swelling.
Are Butterfly Backs Safe for Newly Pierced Ears?
No. Butterfly backs aren’t ideal for new piercings. You risk compression, trapped debris, and pressure sores, elevating safety concerns and infection risk. Choose implant-grade studs with flat-backed labrets; they minimize friction, swelling, and complications during the healing process.
What Alternatives to Butterfly Backs Prevent Irritation or Allergies?
Choose screw backs, flat-back labret studs, or lever-backs made from hypoallergenic materials like implant-grade titanium, niobium, or 14k–18k nickel-free gold. You’ll minimize friction, prevent contact dermatitis, and reduce infection risk. Avoid plated metals and dubious alloys.
How Often Should Butterfly Backs Be Replaced for Hygiene?
Replace butterfly backs every 3–6 months for hygiene. Inspect weekly, clean with 70% isopropyl alcohol, and discard warped or tarnished backs. Prioritize hygiene practices and earring maintenance, especially after infections, swimming, or sweating, to minimize biofilm, irritation, and contamination risks.
How Can I Prevent Butterfly Backs From Loosening During Sleep?
Tighten backs before bed, then use silicone disc stoppers behind butterfly clutches. Choose screw-back or locking clutches. Sleep on a silk pillowcase or use a travel pillow to offload pressure. Practice ear care: disinfect posts, inspect tension, replace worn backs.
Conclusion
You’ve got the technique: clean hands and tools, a steady grip on the stud, controlled loosening of the butterfly back, and a smooth removal of the post. If you feel resistance, stop, realign, and avoid twisting the lobe. Afterward, disinfect the earring, cleanse the piercing site, and apply a soothing, non-irritating ointment. If swelling, bleeding, or severe pain occurs, consult a professional piercer or clinician. Store earrings with backs separated to prevent compression and future sticking.


Leave a comment
This site is protected by hCaptcha and the hCaptcha Privacy Policy and Terms of Service apply.